How To Easily Organize Your Medicine Cabinet At Home
New Yorkers know the extent of respect landlords have for bathroom storage, NONE, they have none. Not only are New York bathrooms miniature, their kind of ugly (there I said it) making it challenging to decorate and organize that.
It’s been my mission in life to create organized, comfortable, and clean spaces in my New York apartments. With the little realty space that’s given for storage (what undersink?), I want to share how I keep MY bathroom organized, hopefully inspiring you to reimagine yours.
My bathroom medicine cabinet project is sponsored by The Container Store and The Home Edit’s new bathroom line. All products linked in this post were given to me and I will receive a commission if you choose to click and purchase anything linked in this post.
I’m beyond excited to announce that Organize for Love is 1 of 20 of Brand Ambassadors for The Container Store. For the next 6 months, I’ll be tackling apartment organization projects using products exclusively from The Container Store.
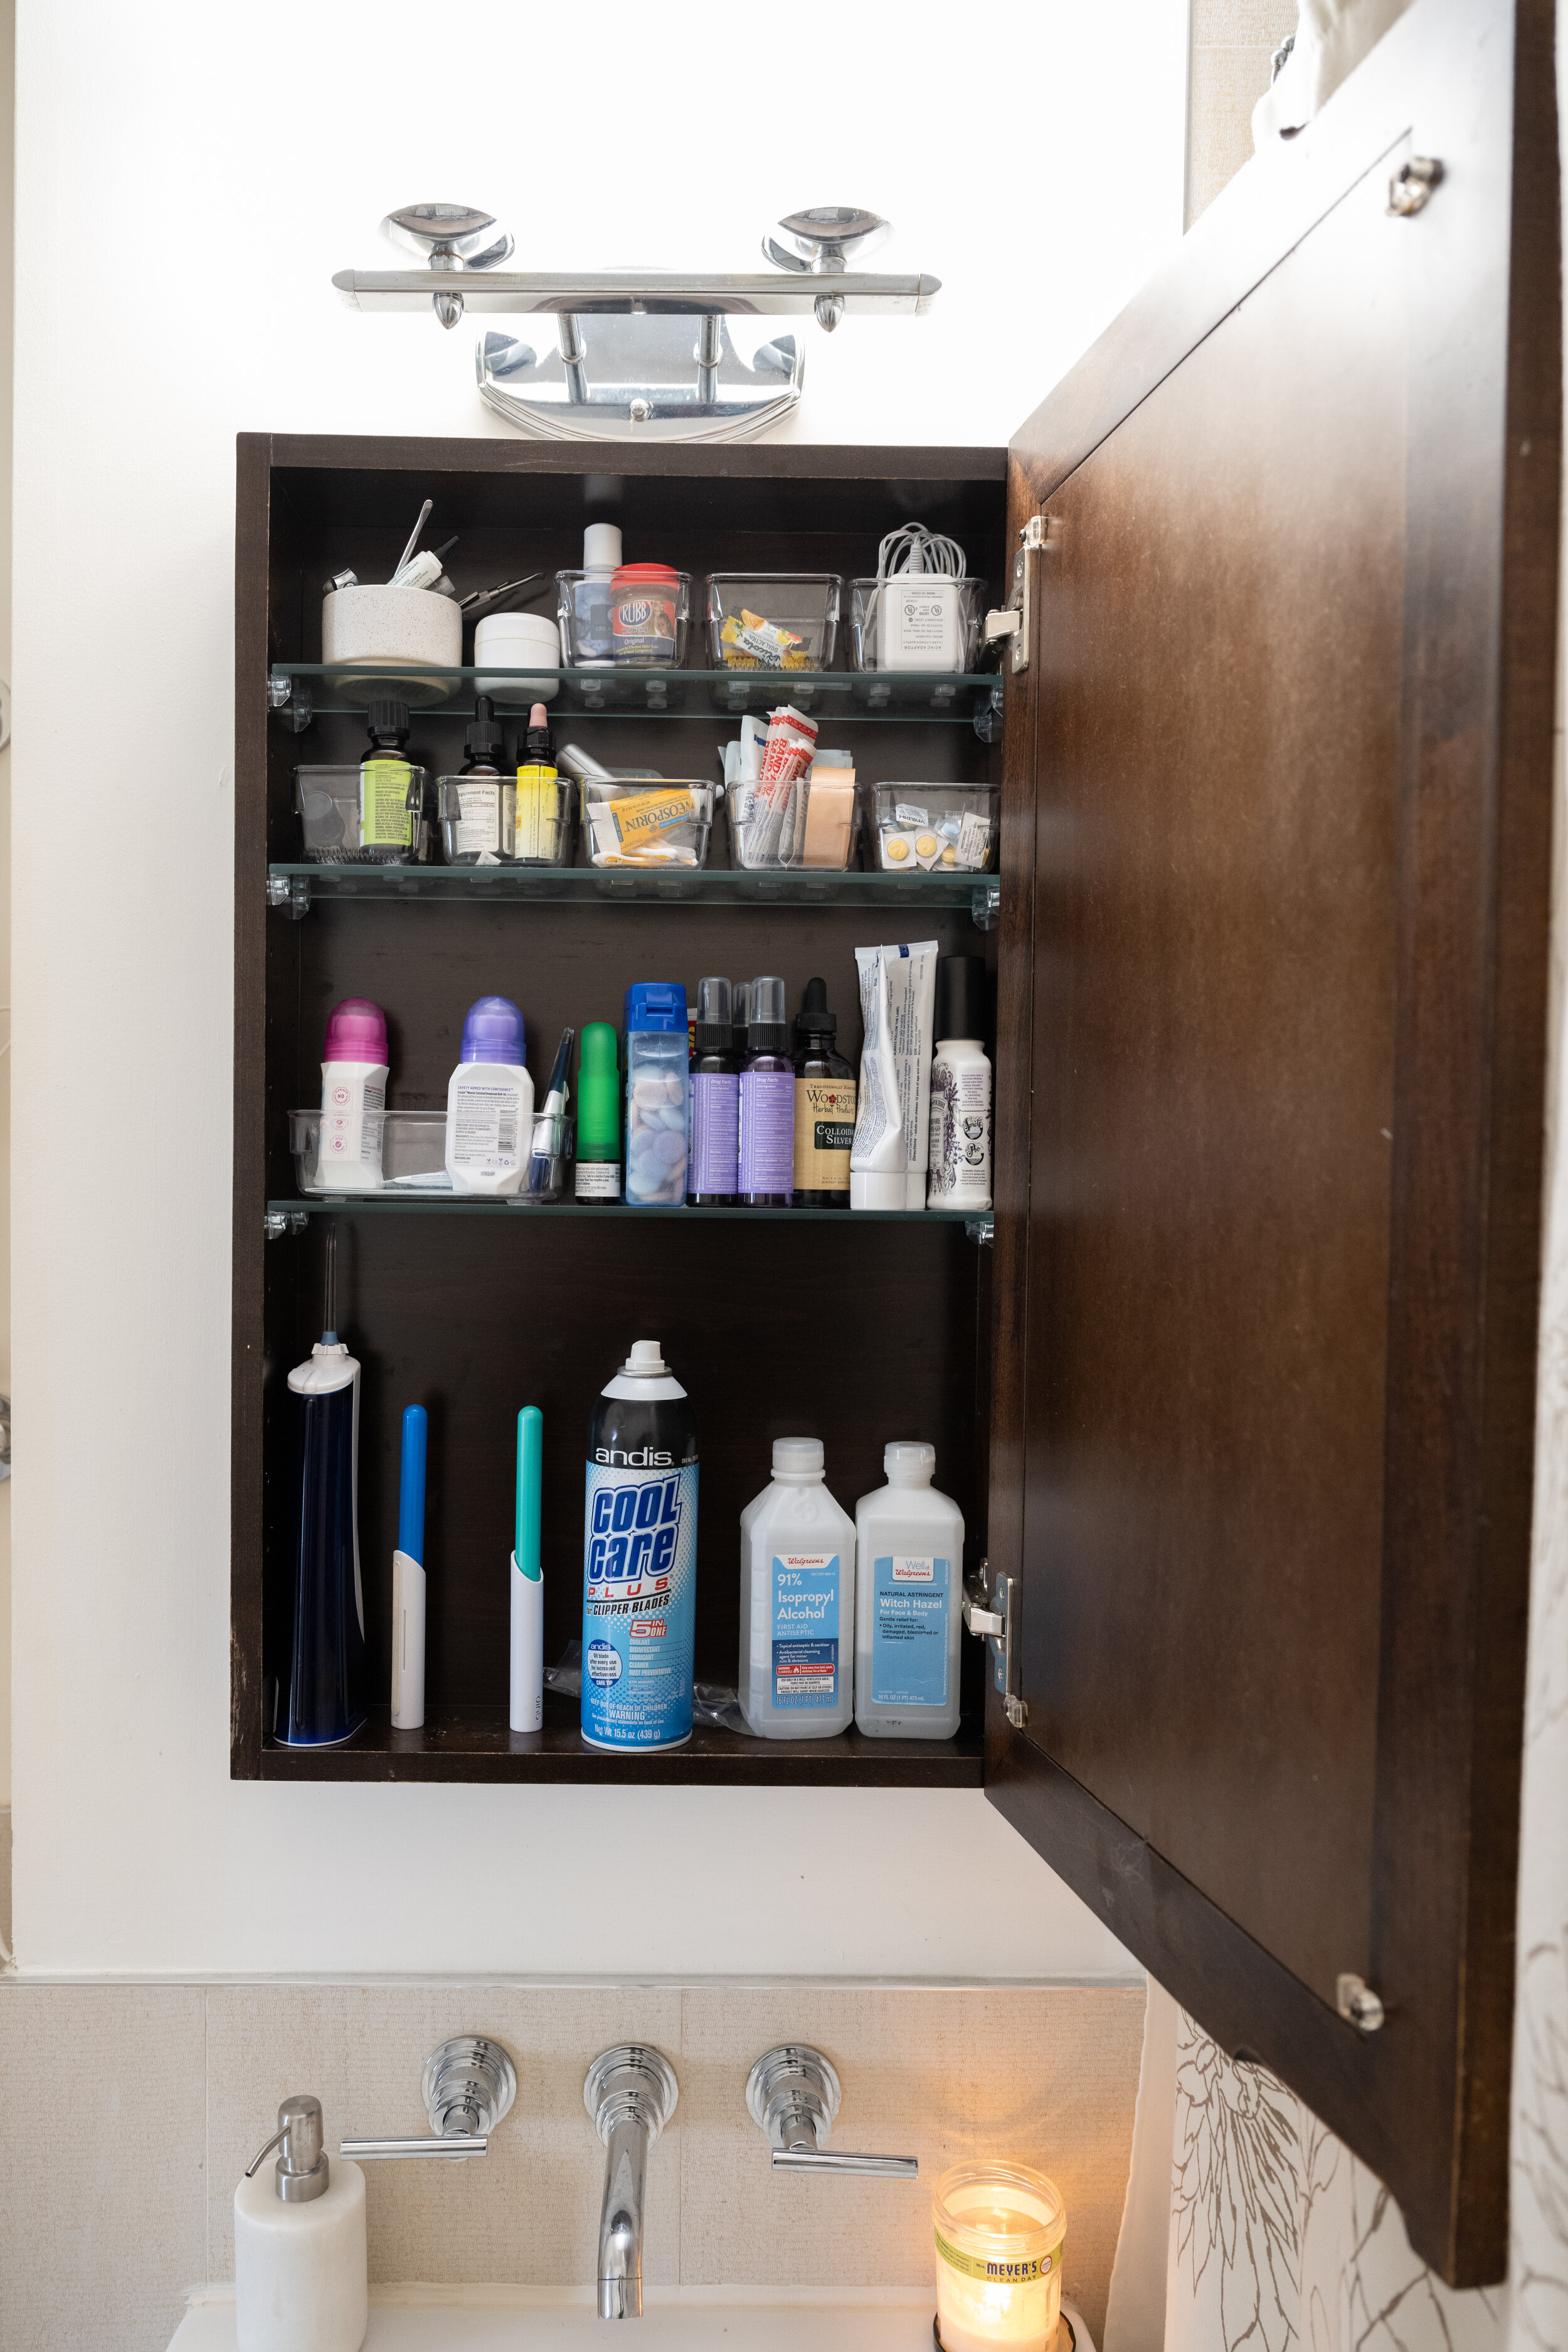
A couple things to note before we get into what my cabinet looked like before. First, I began organizing my cabinet months ago and stopped for a family emergency, actually all home projects stopped in my household. Second, my medicine cabinet is much larger than the standard New York medicine cabinet, so I’m working with a little more.
Photo by aQut Photography
In full transparency, in addition to my medicine cabinet, I have a shelving in my bathroom but I do not have an under-sink storage. This means that everything under the “bathroom category“ is not actually in my bathroom.
Photo by aQut Photography
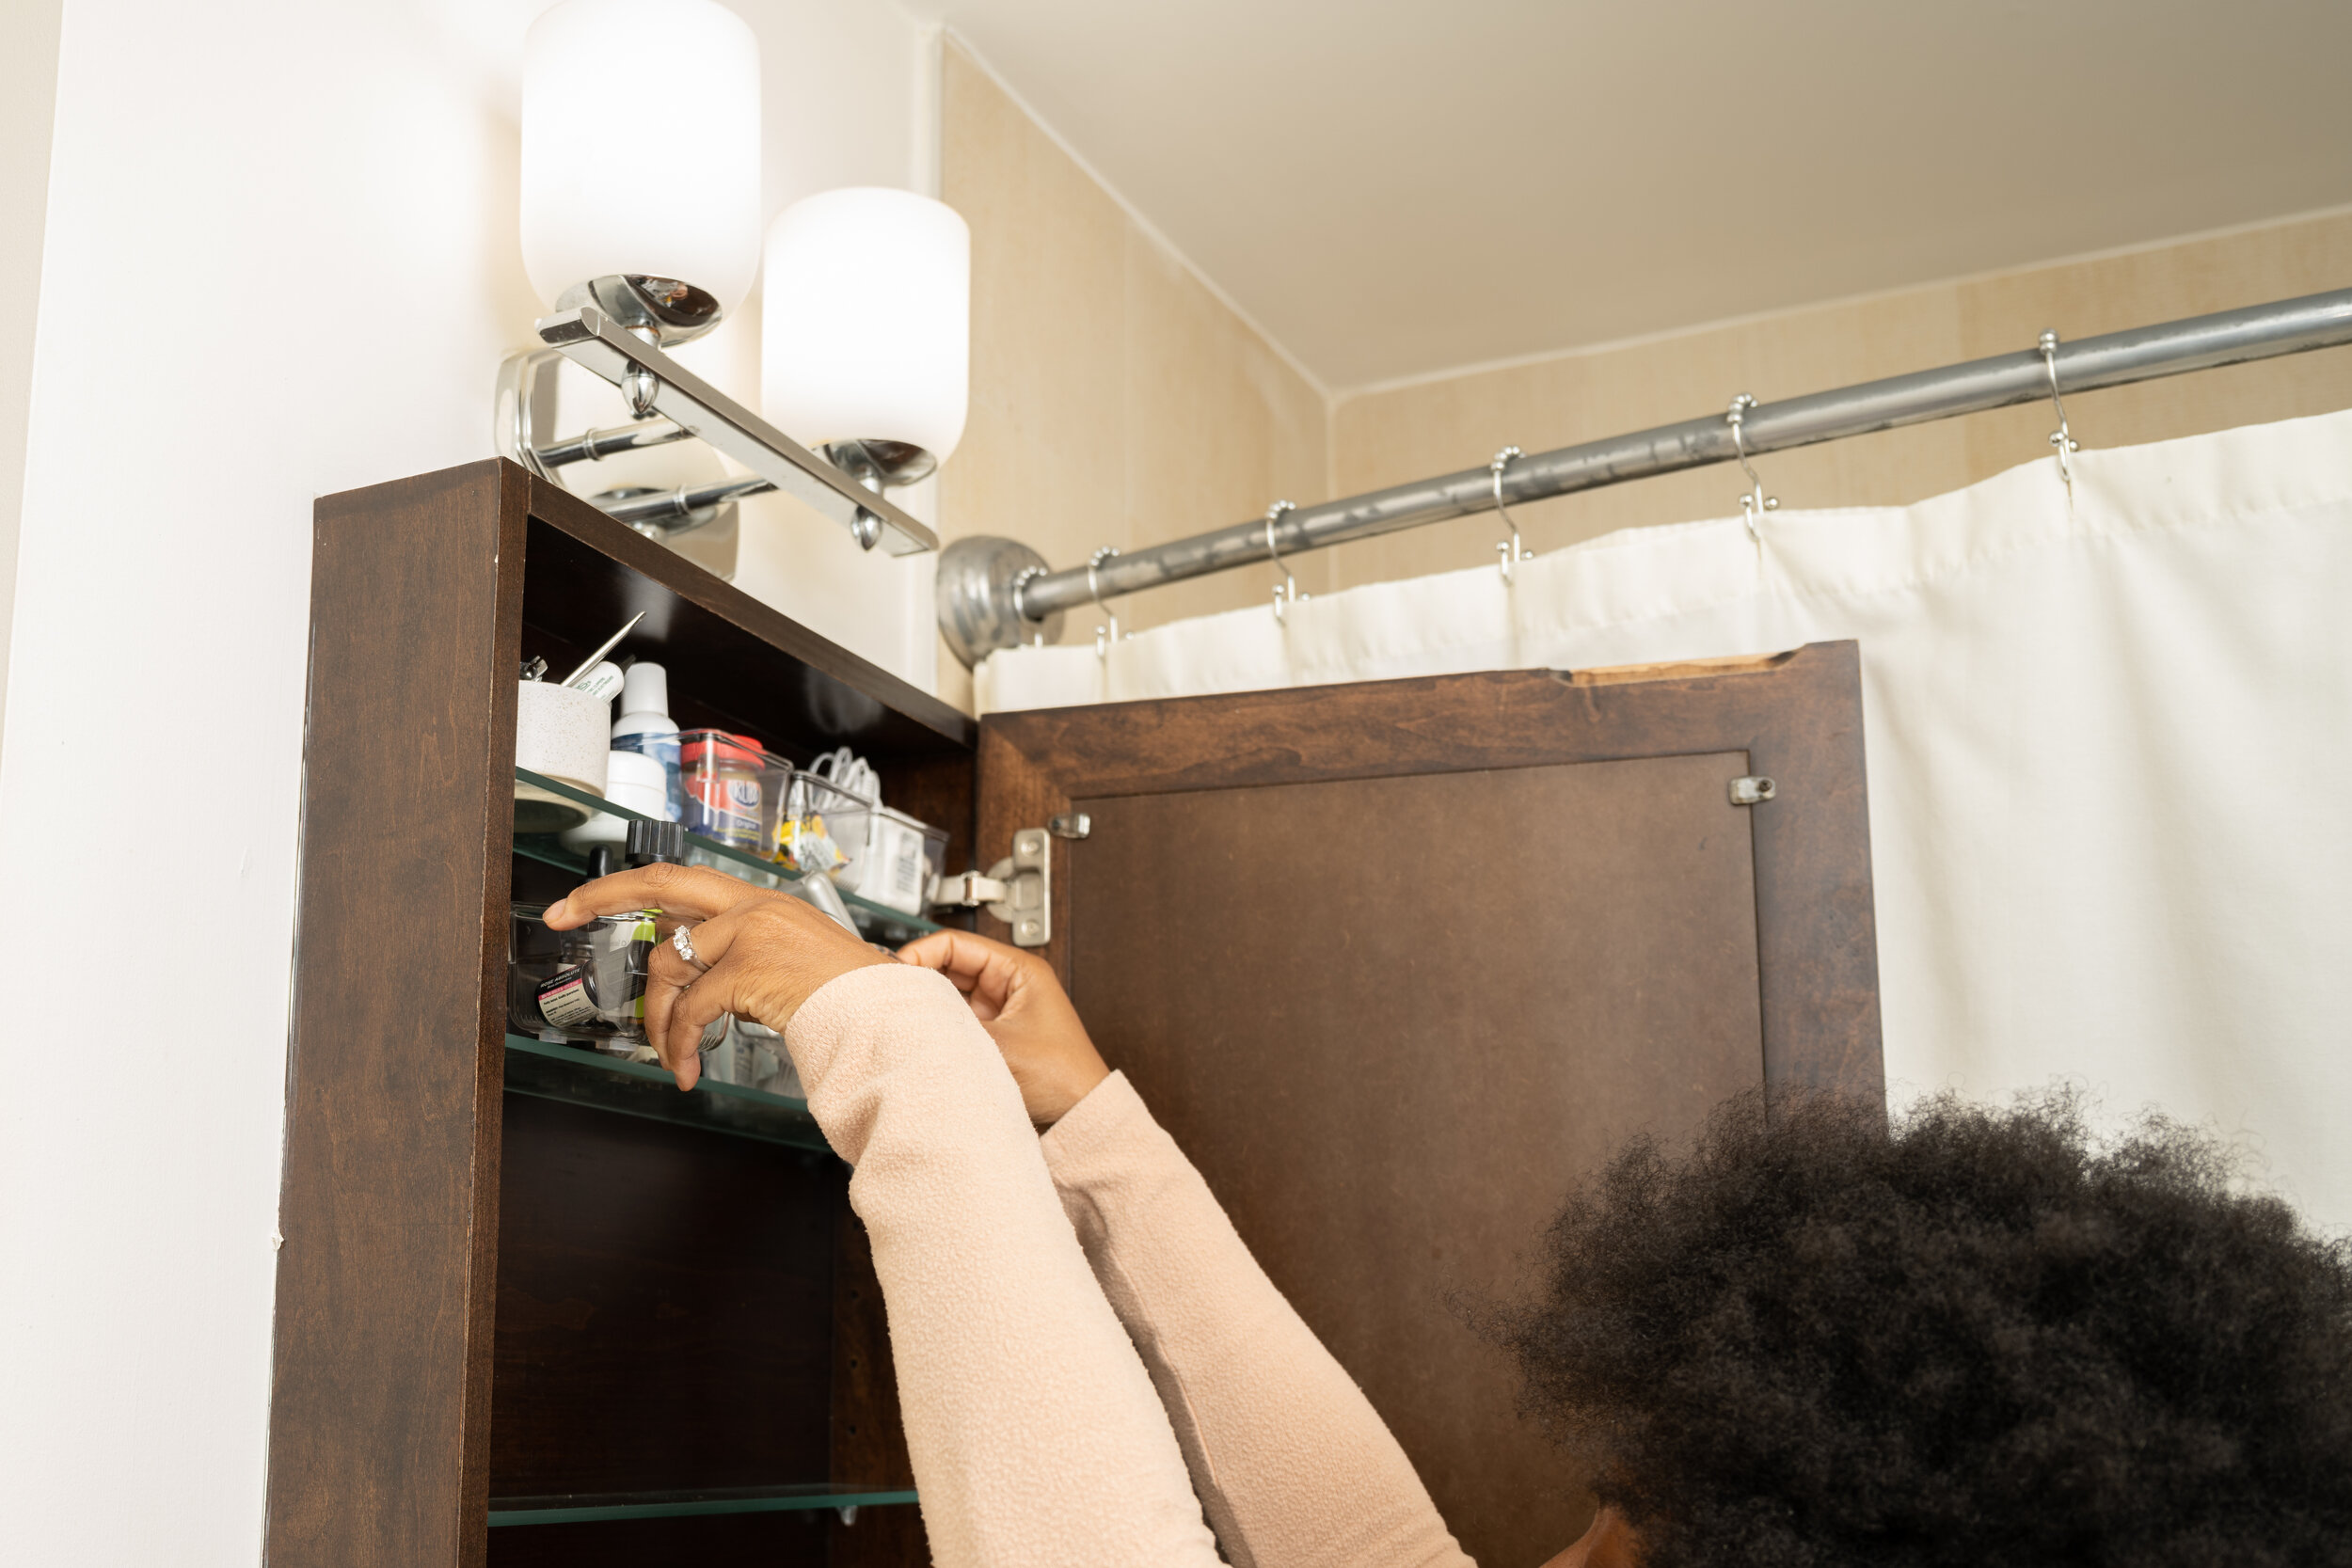
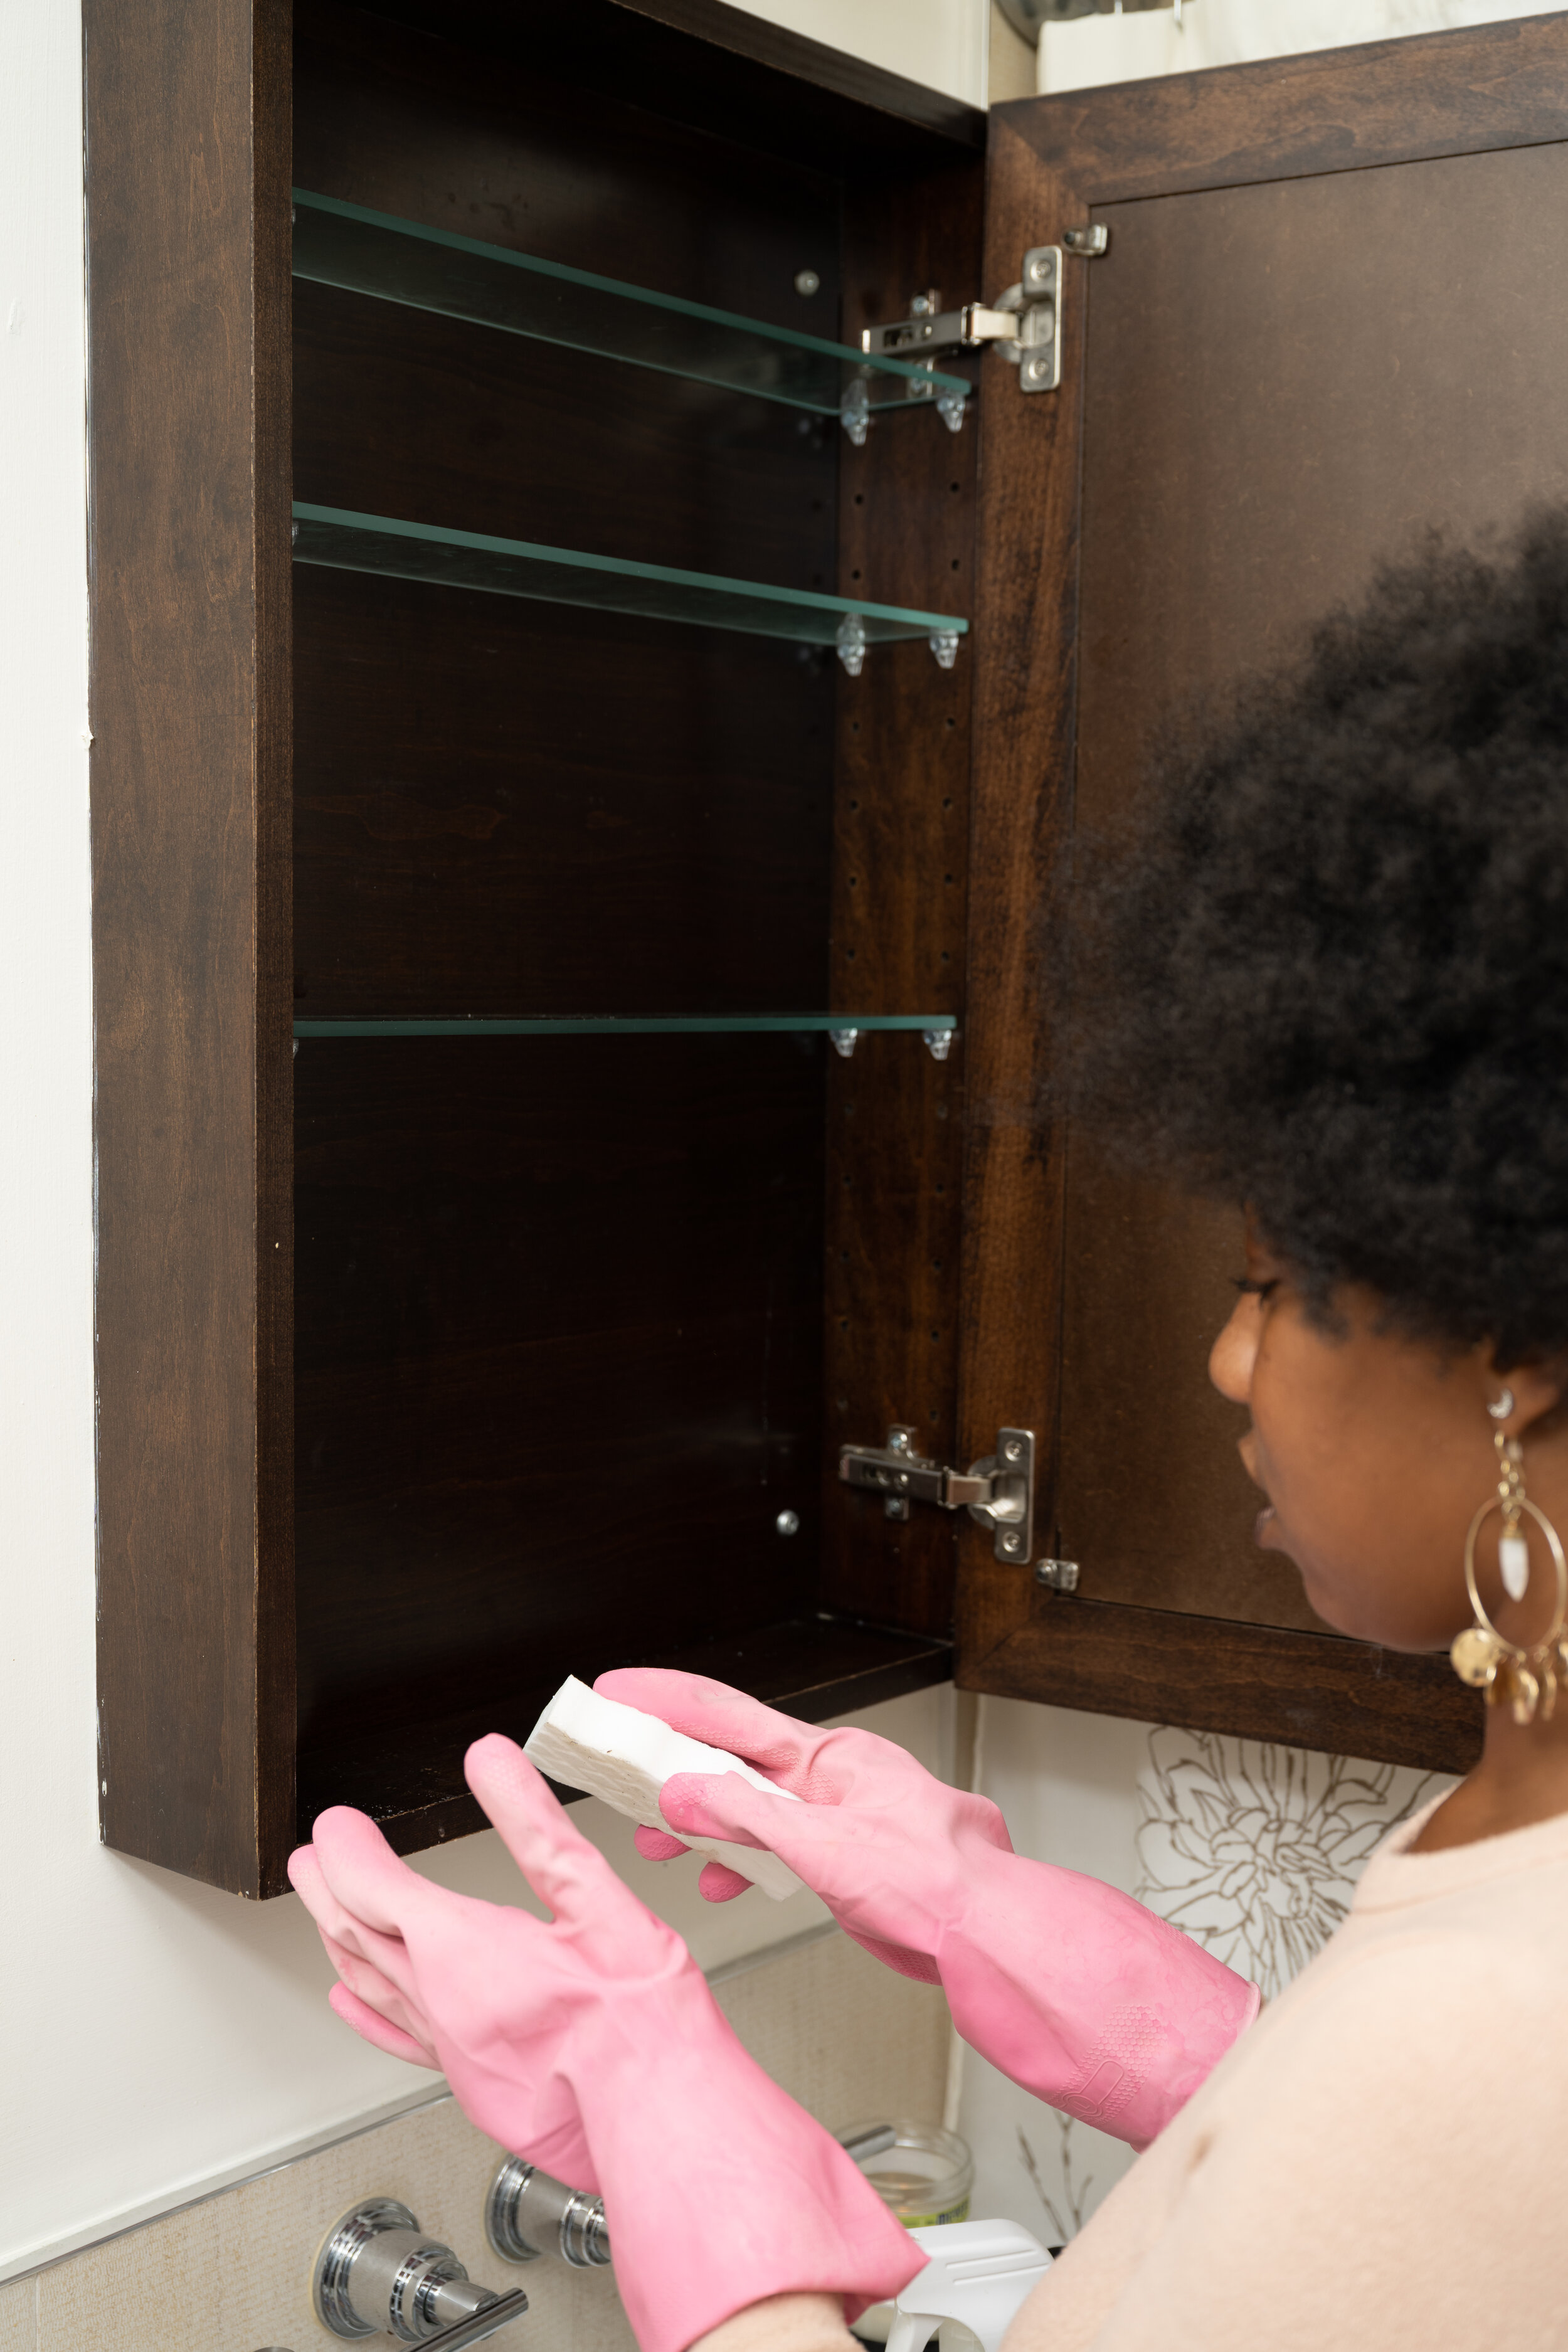
First things first is removing everything from the cabinet, this creates a clean slate allowing me to clean the shelving and “install“ the organization products.
A medicine cabinet hack for my fellow bathroom strugglers is adjusting the shelves inside. Removing the pegs (you may need pliers) will allow you to move a shelf up or down for those taller items like mouthwash, shaving cream, and lotions. You’ll also be able to shorten a shelf when space isn’t needed.
Photo by aQut Photography
Photo by aQut Photography
Your welcome
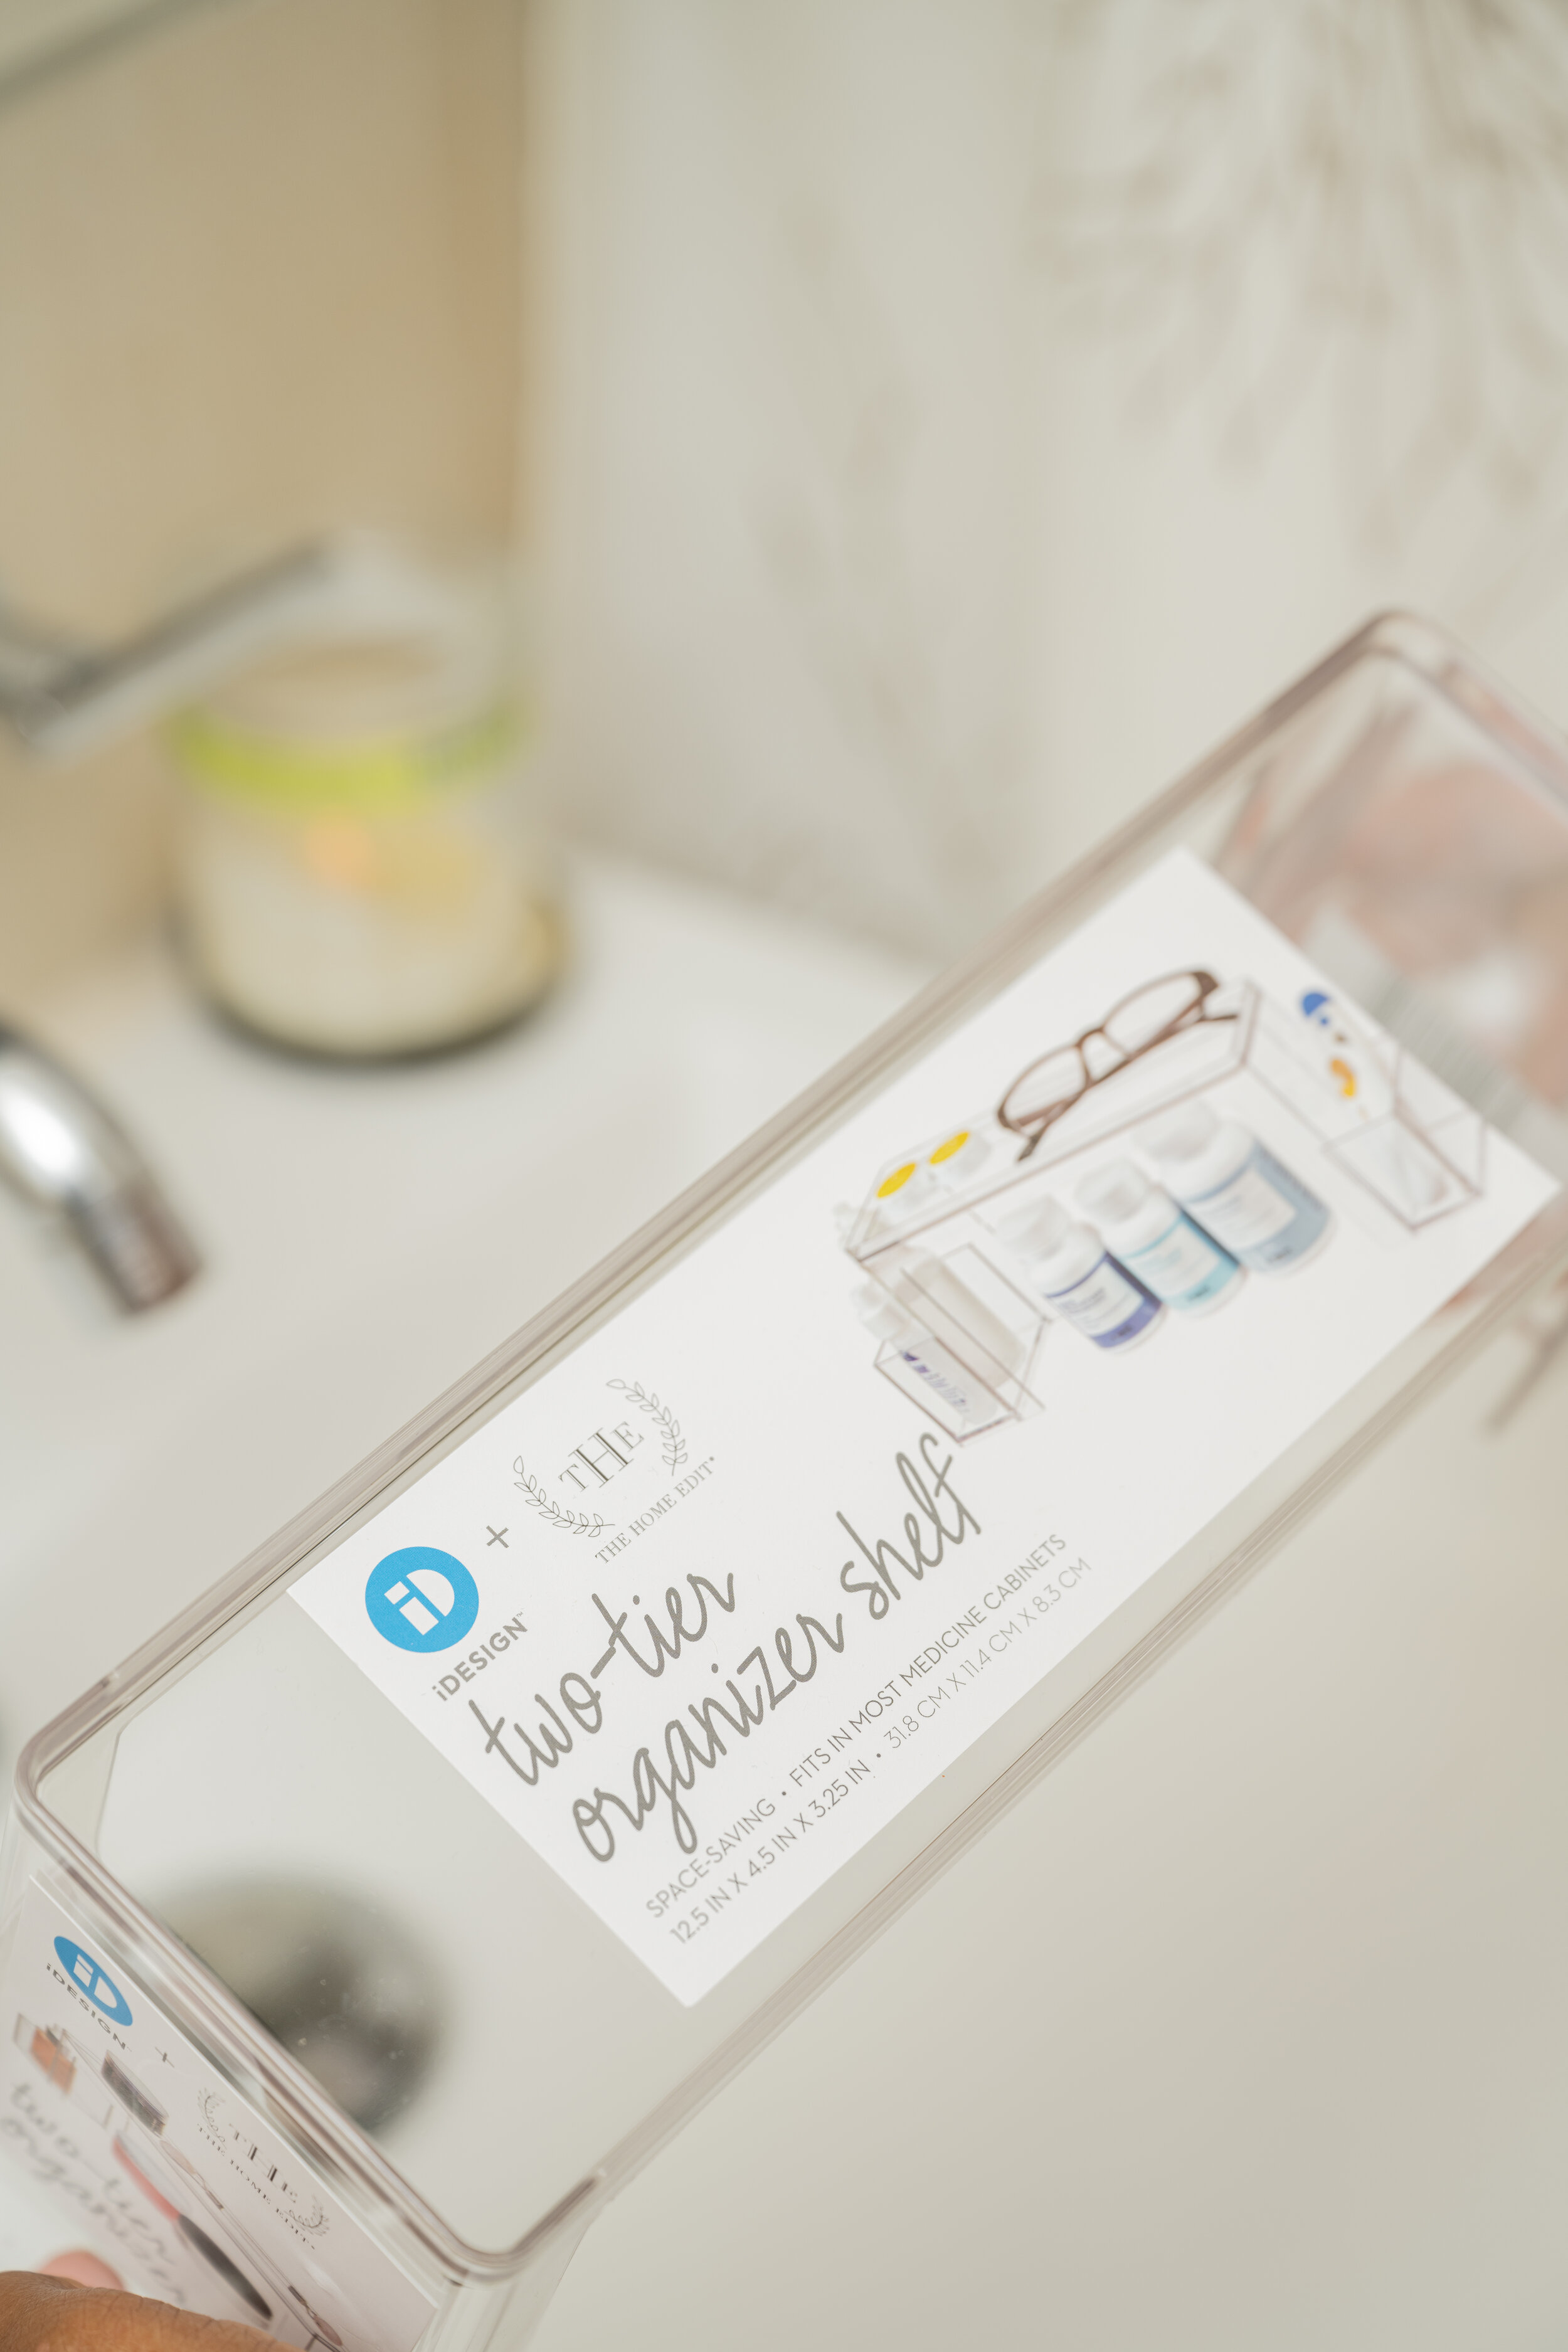
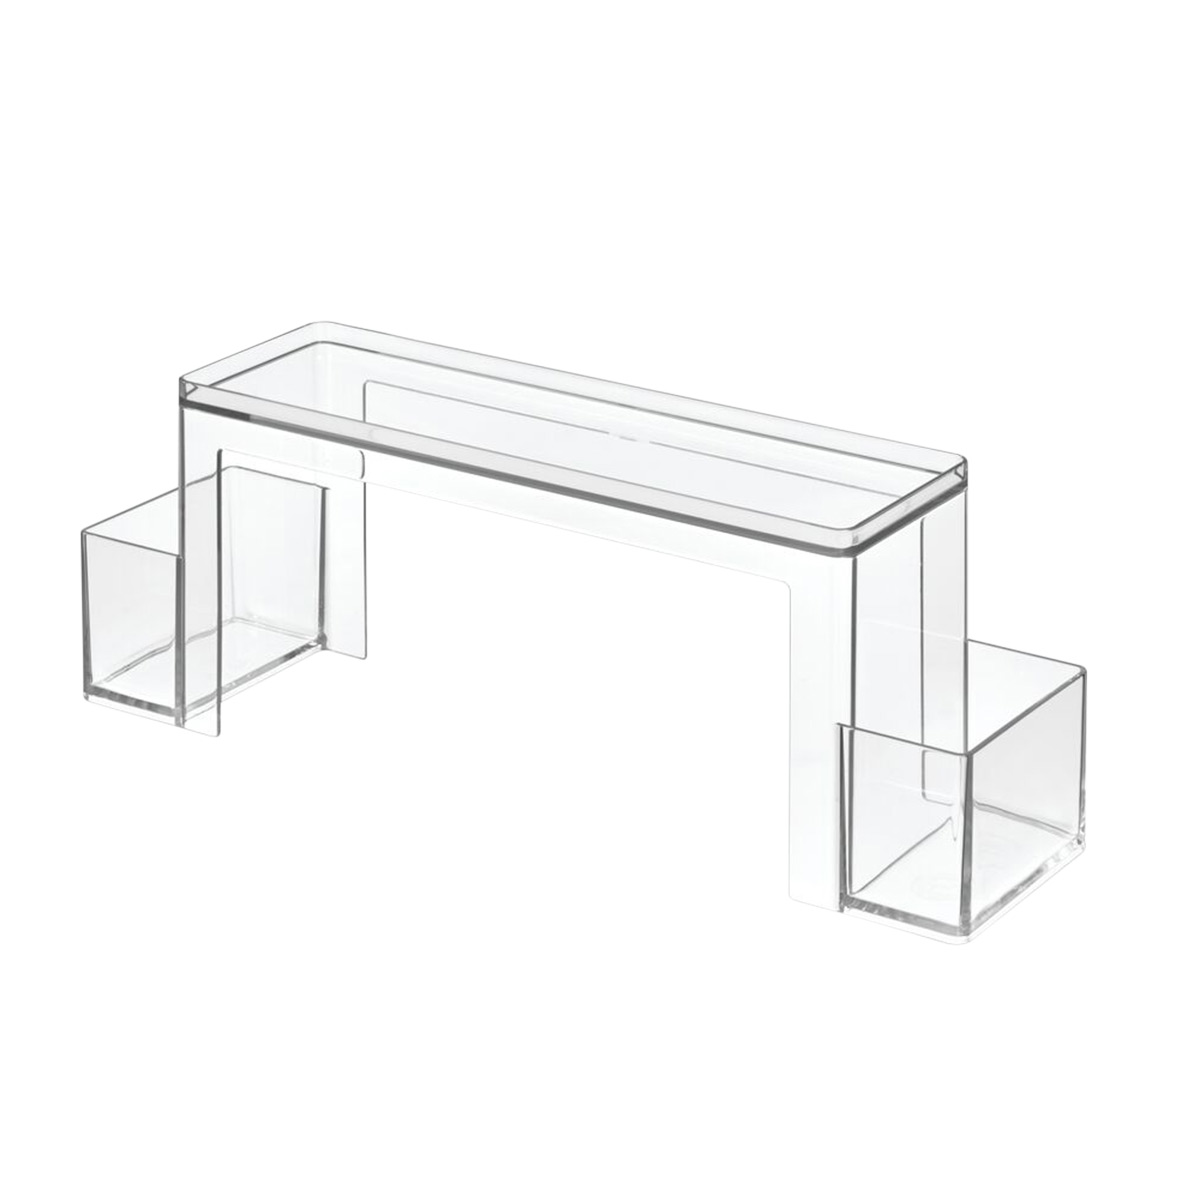
A genius compliment to cabinet organization, which creates storage and maximizes space is The Home Edit Two Tier Organizer.
Photo by aQut Photography
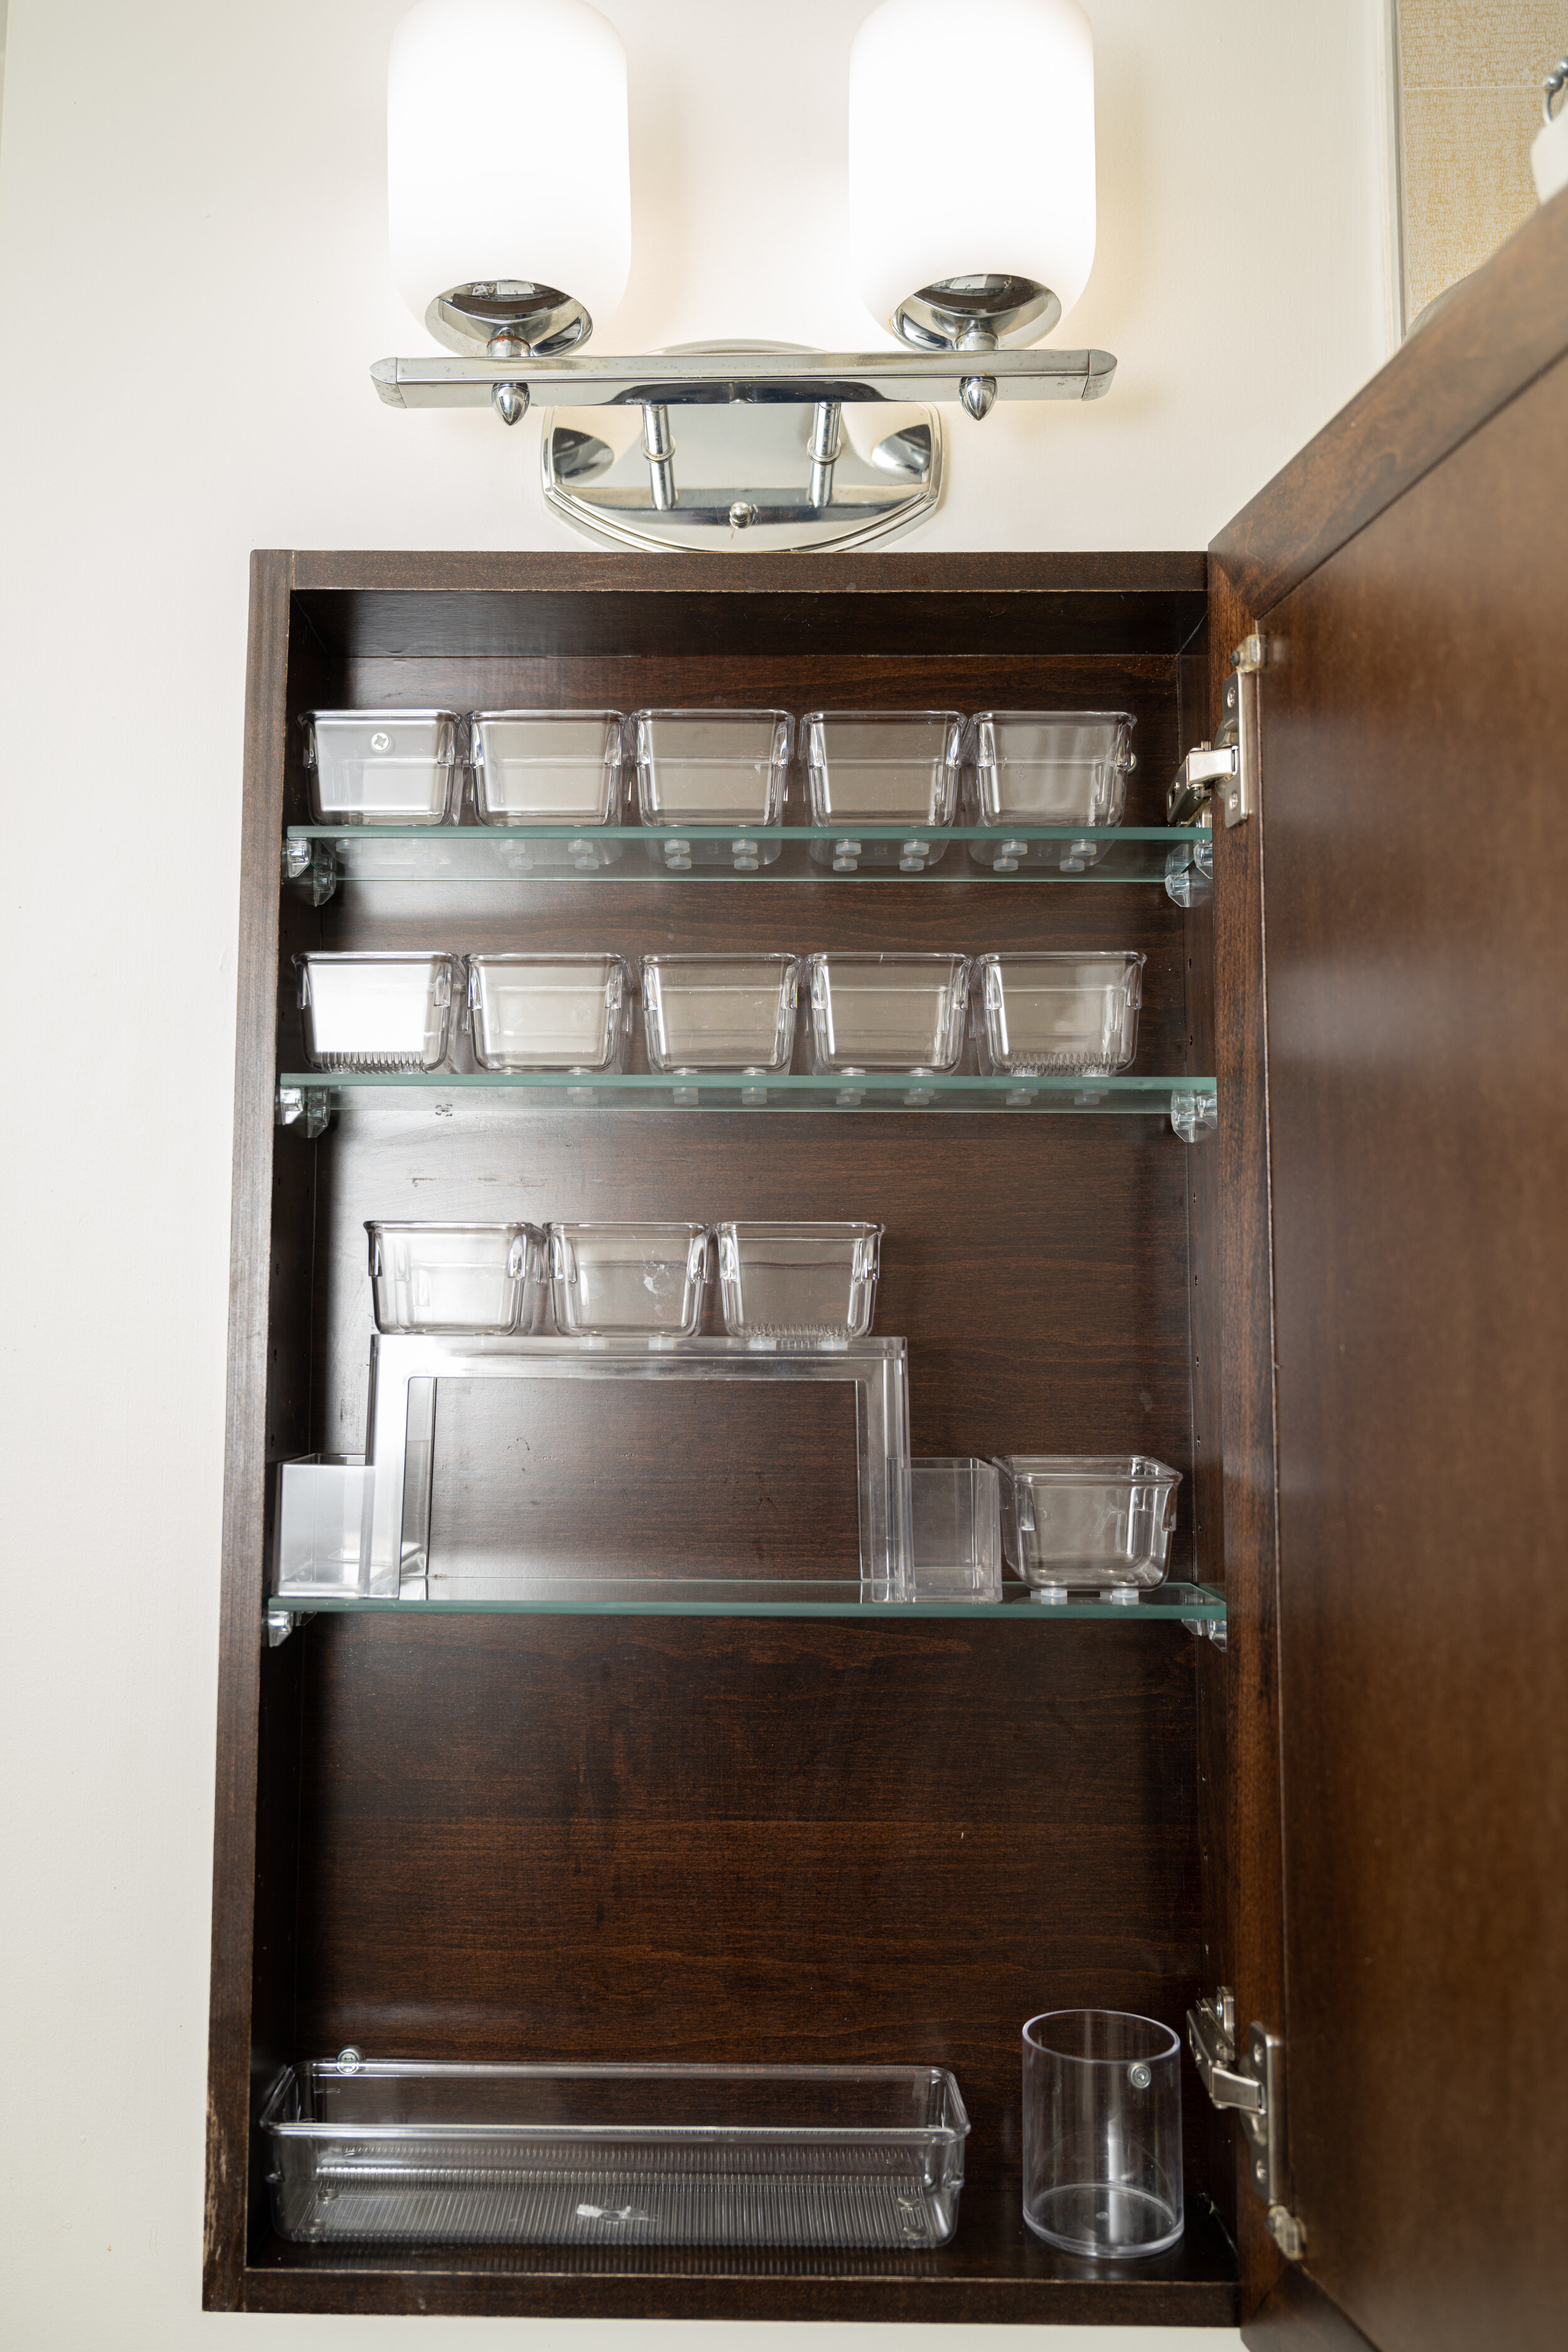
After I removed everything, I set up my new organization products on my blank canvas based on my sketch. I’m visual so I like to draw out my plans before purchasing products. Sketching also includes exact measurements of the space and products.
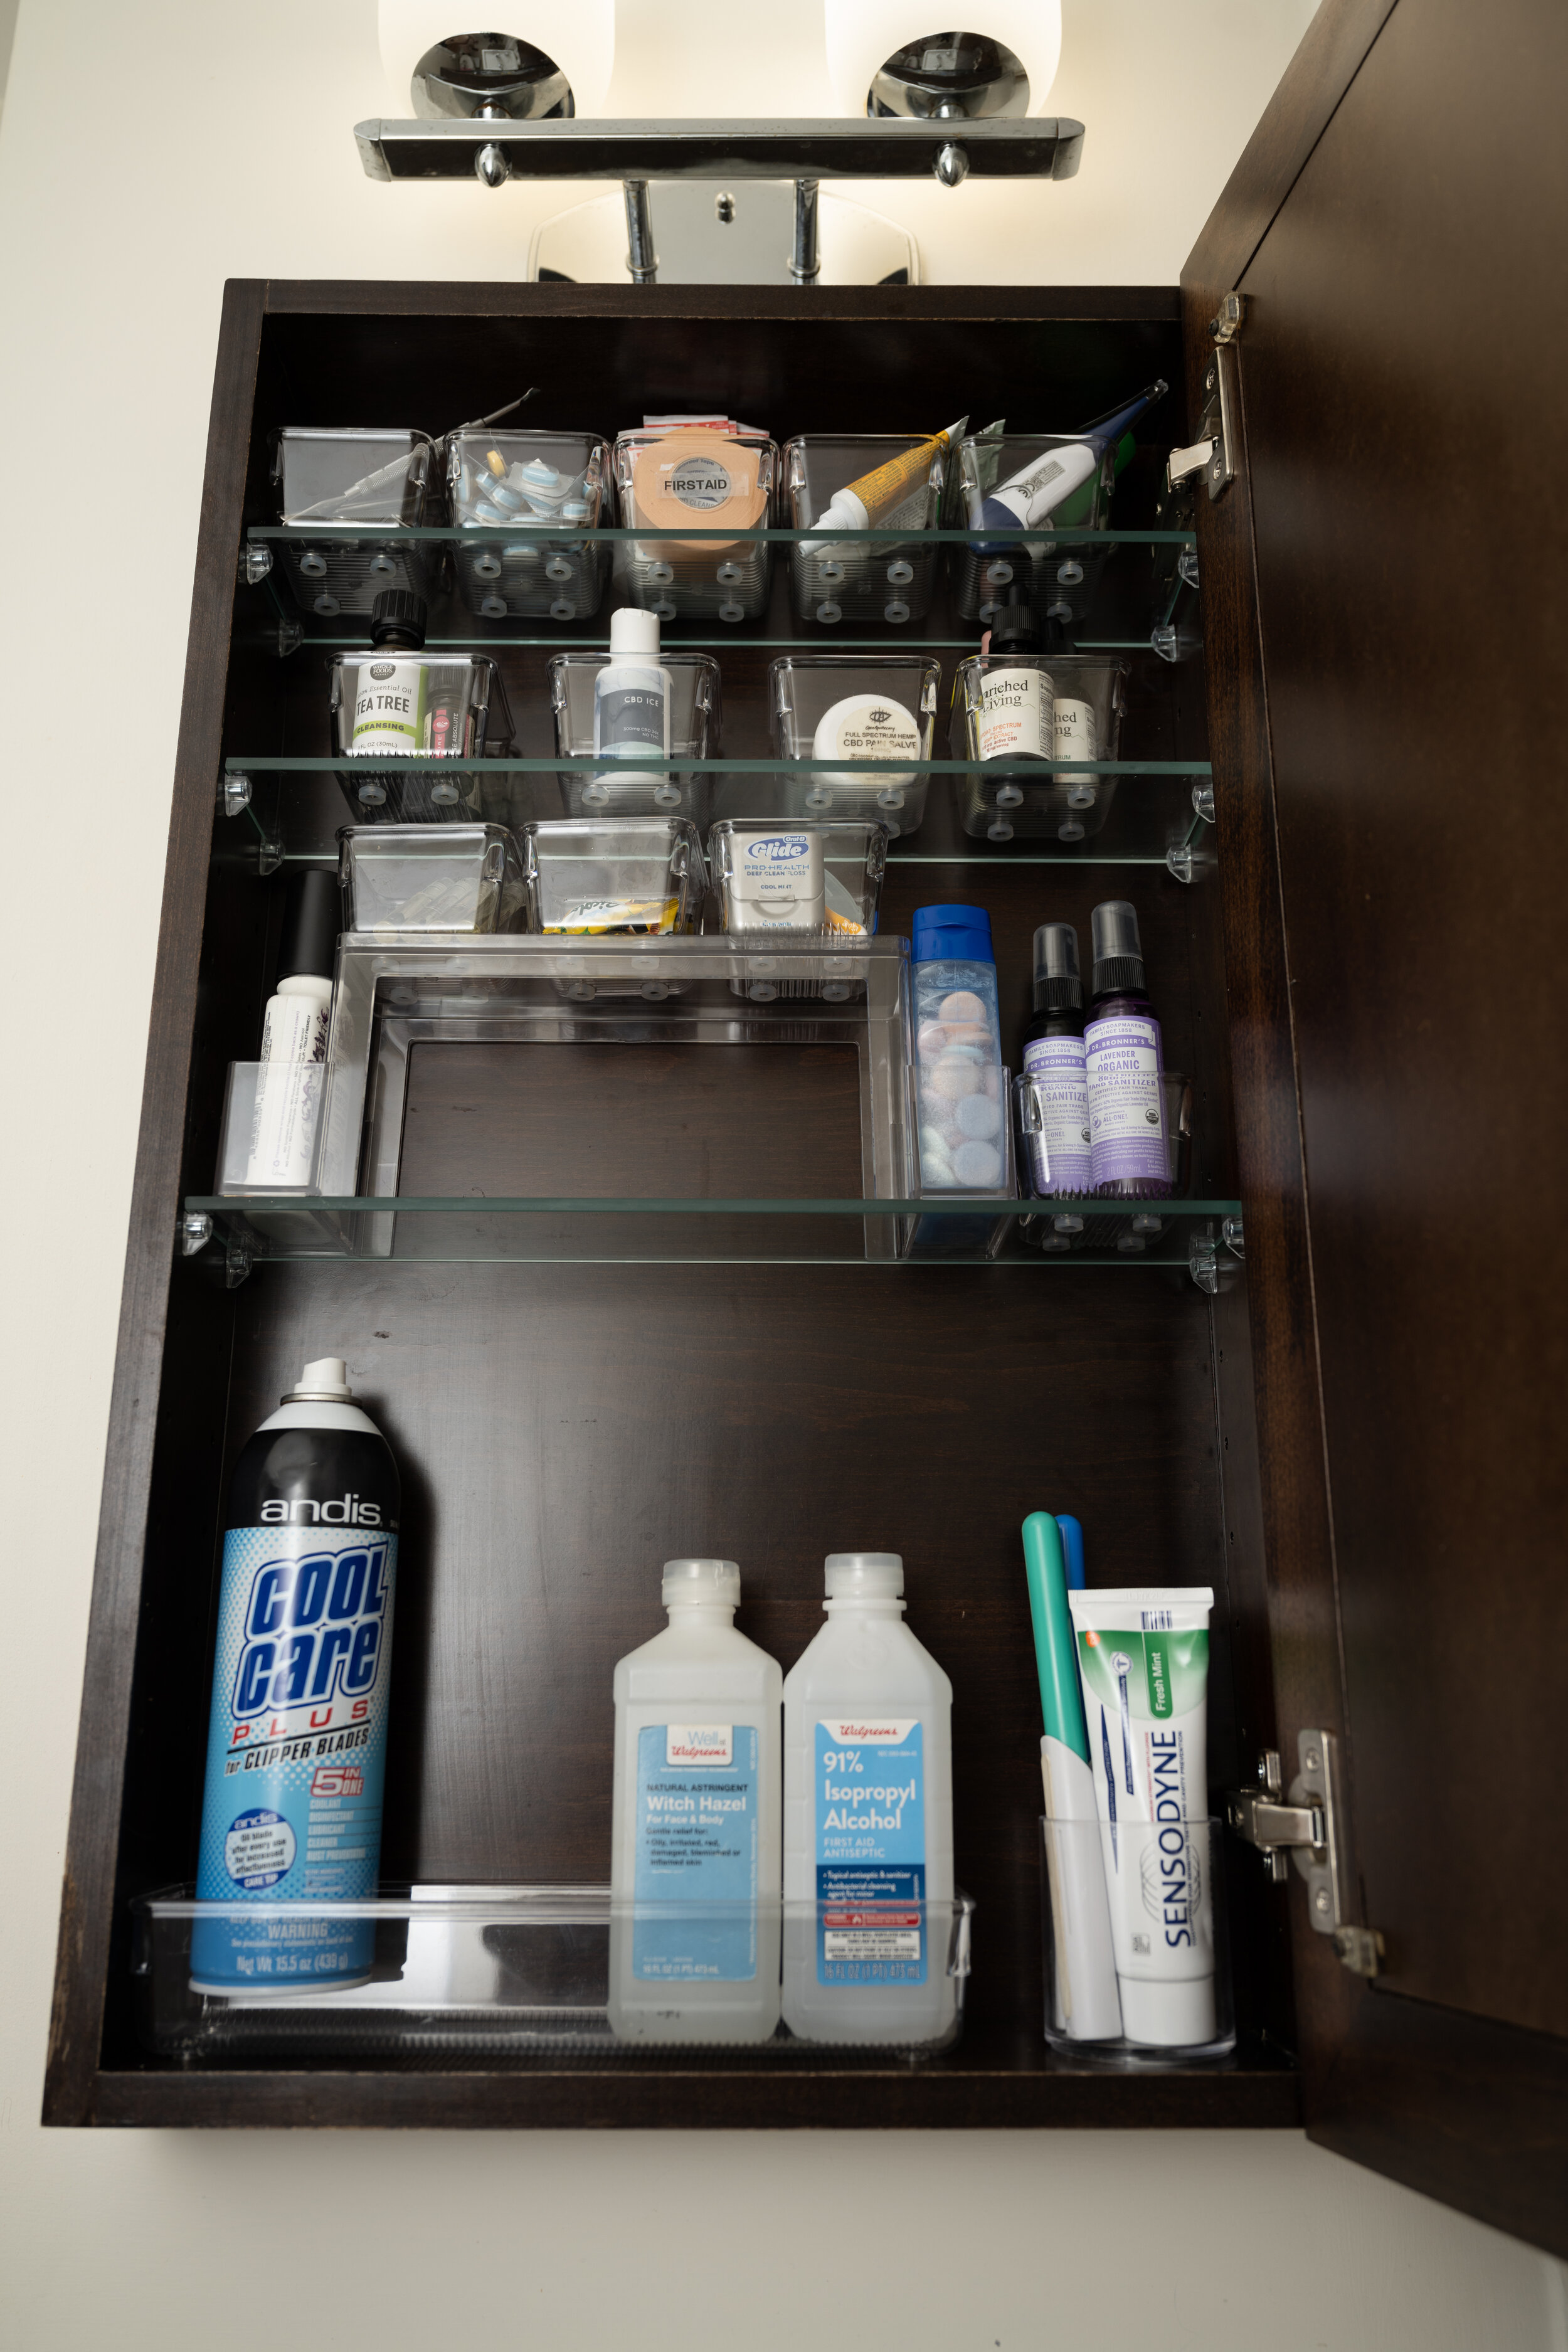
Here’s what it looks like after I put my products in place.
Photo by aQut Photography
Photo by aQut Photography
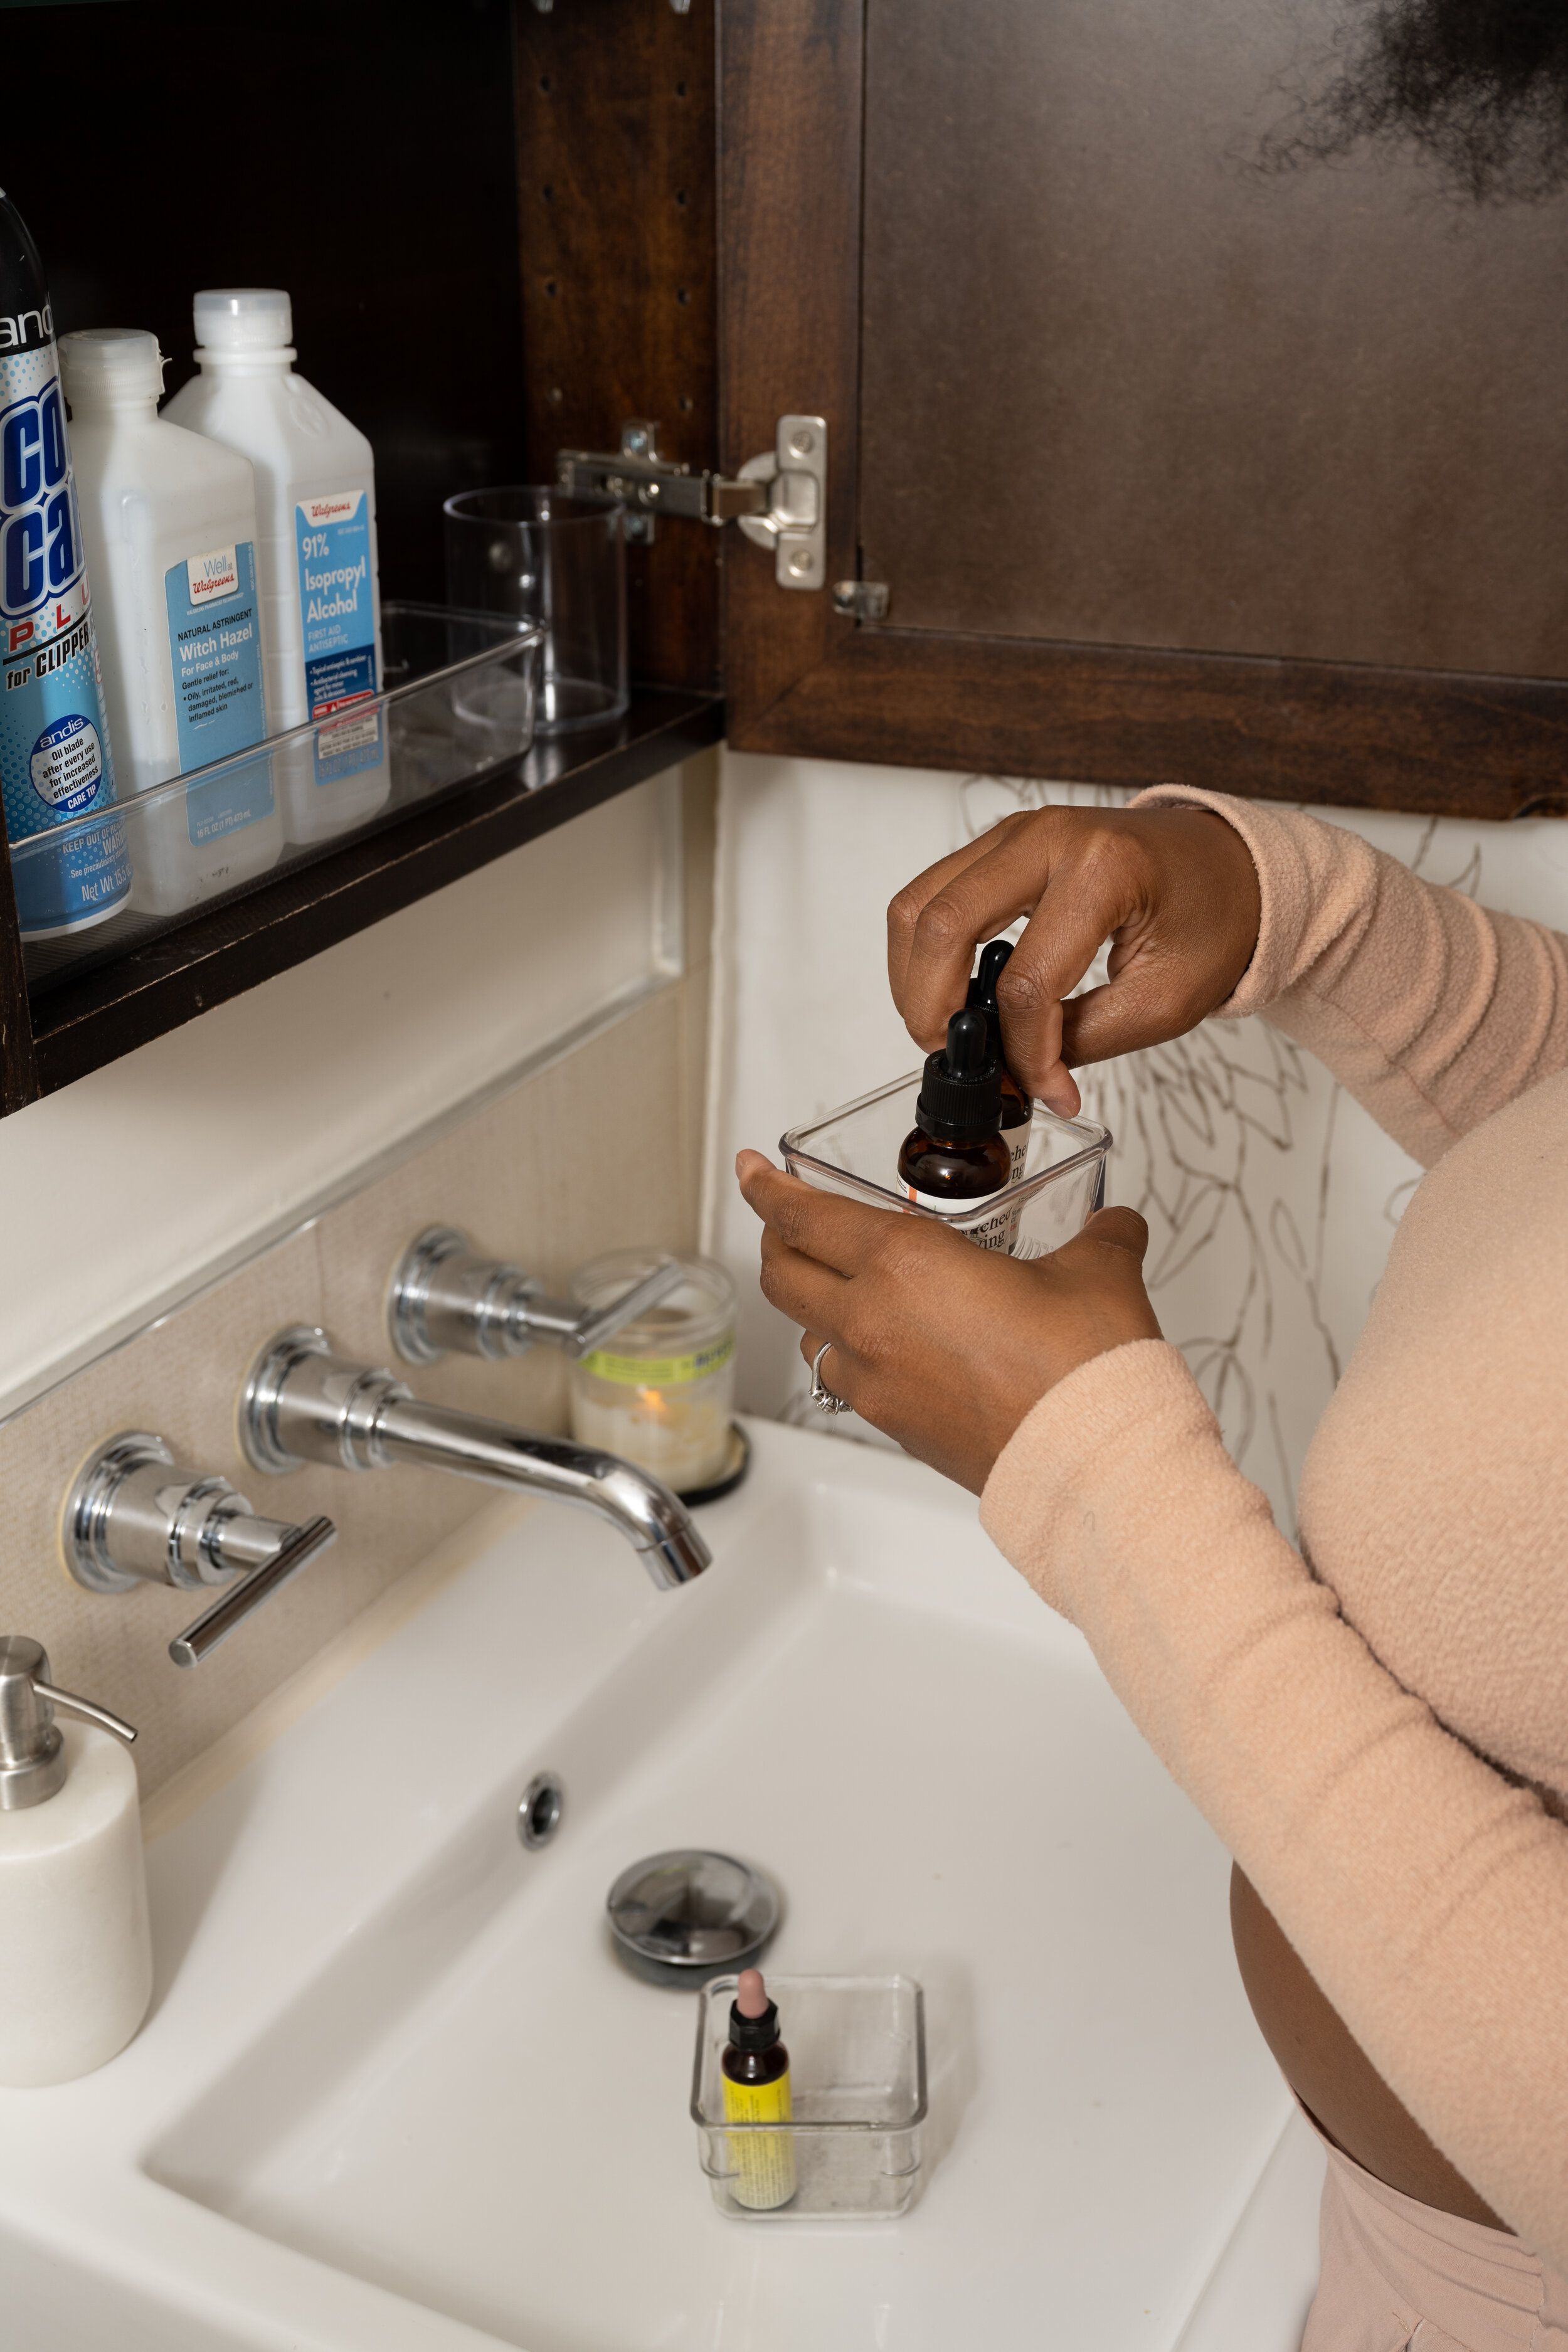
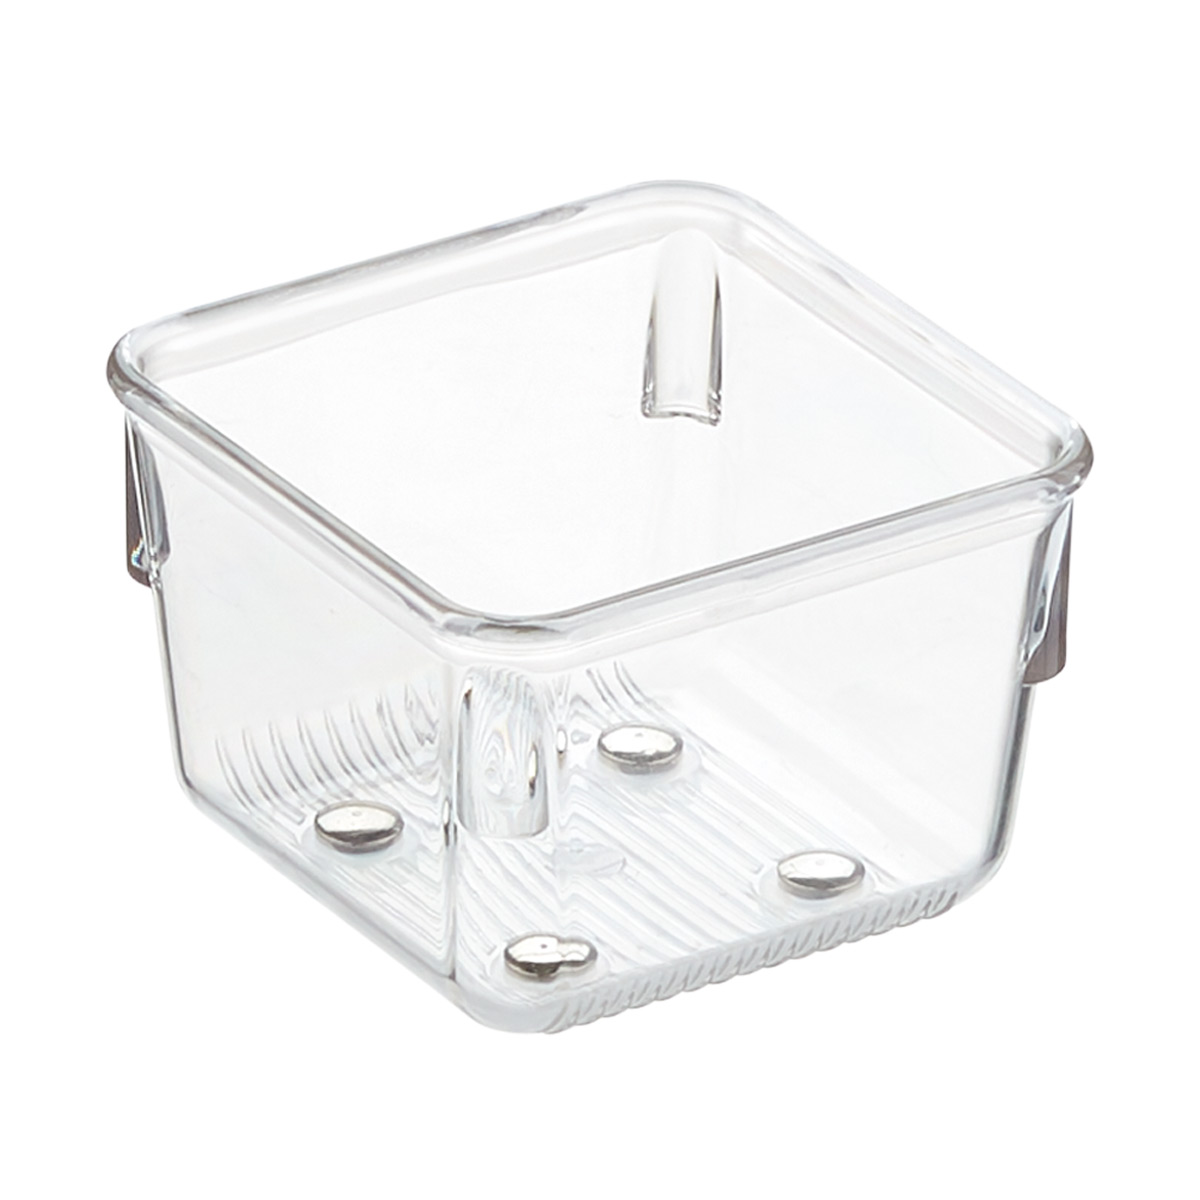
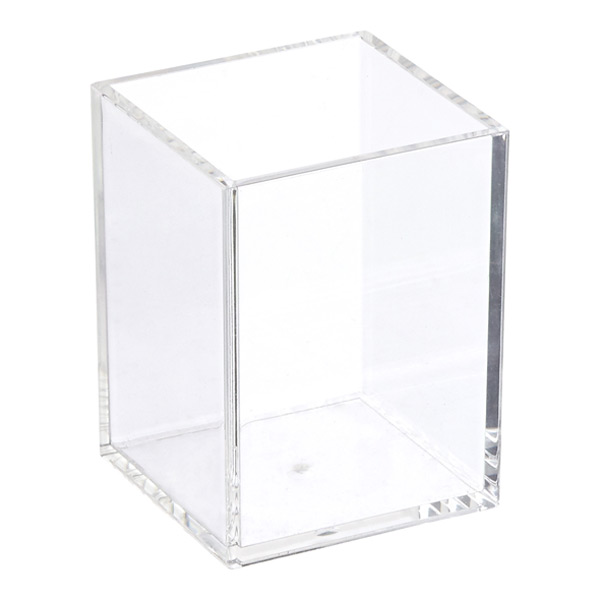
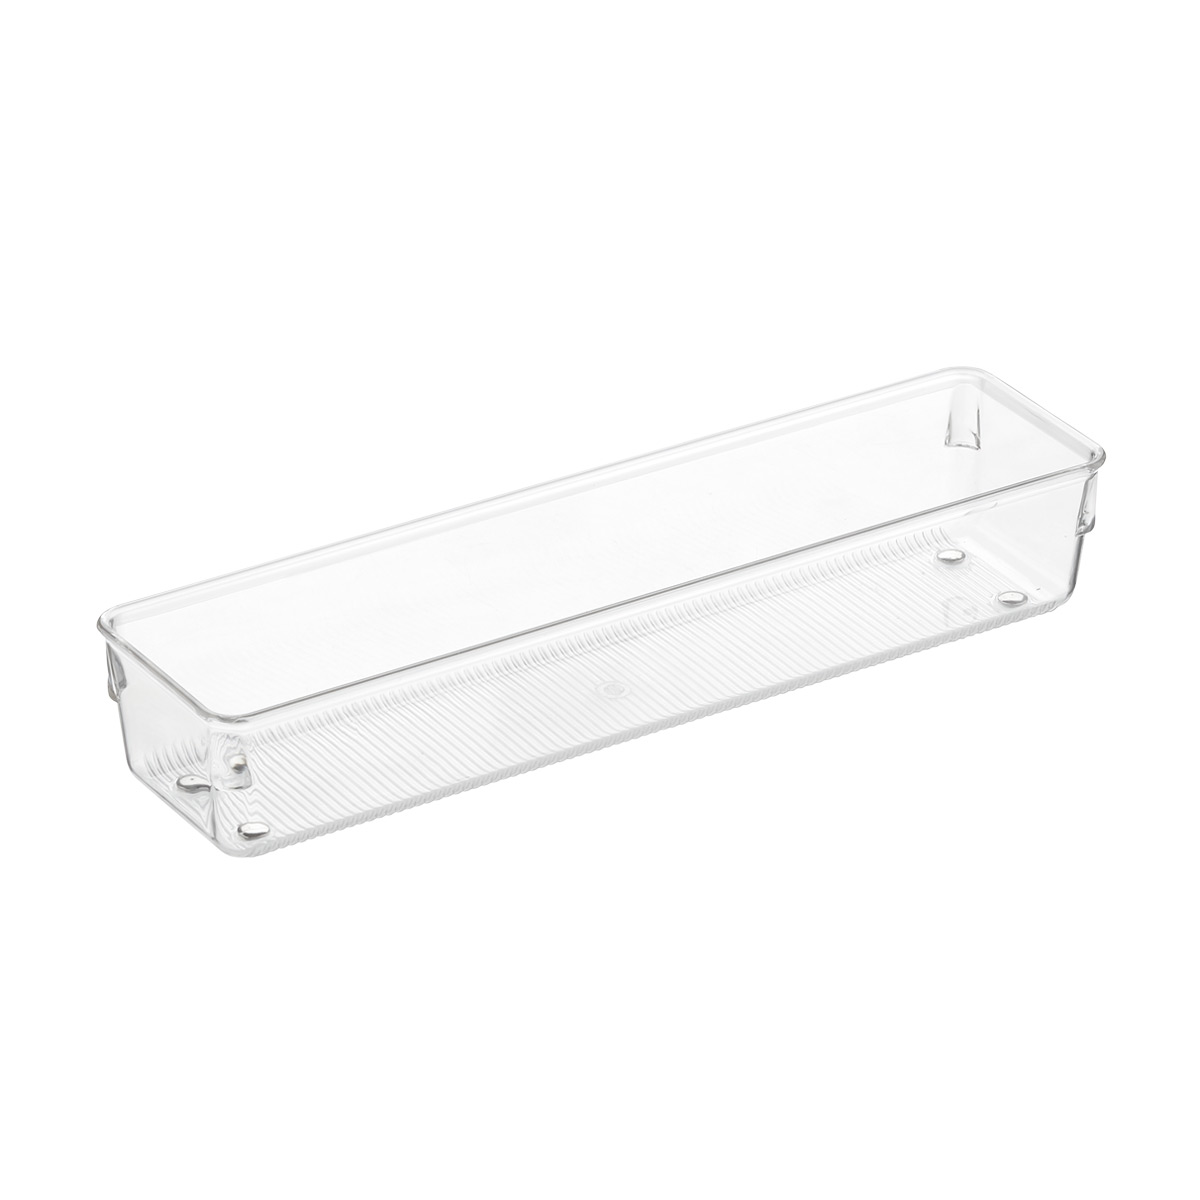
When putting my items in their new home, it takes some playing around with. The best way to organize your medicine cabinet is to break down items into smaller categories placing them in smaller containers. That’s why I used the iDESIGN Linus Shallow Drawer Organizer because it makes it that much easier to compartmentalize miscellaneous items that land in the cabinet.
Photo by aQut Photography
Photo by aQut Photography
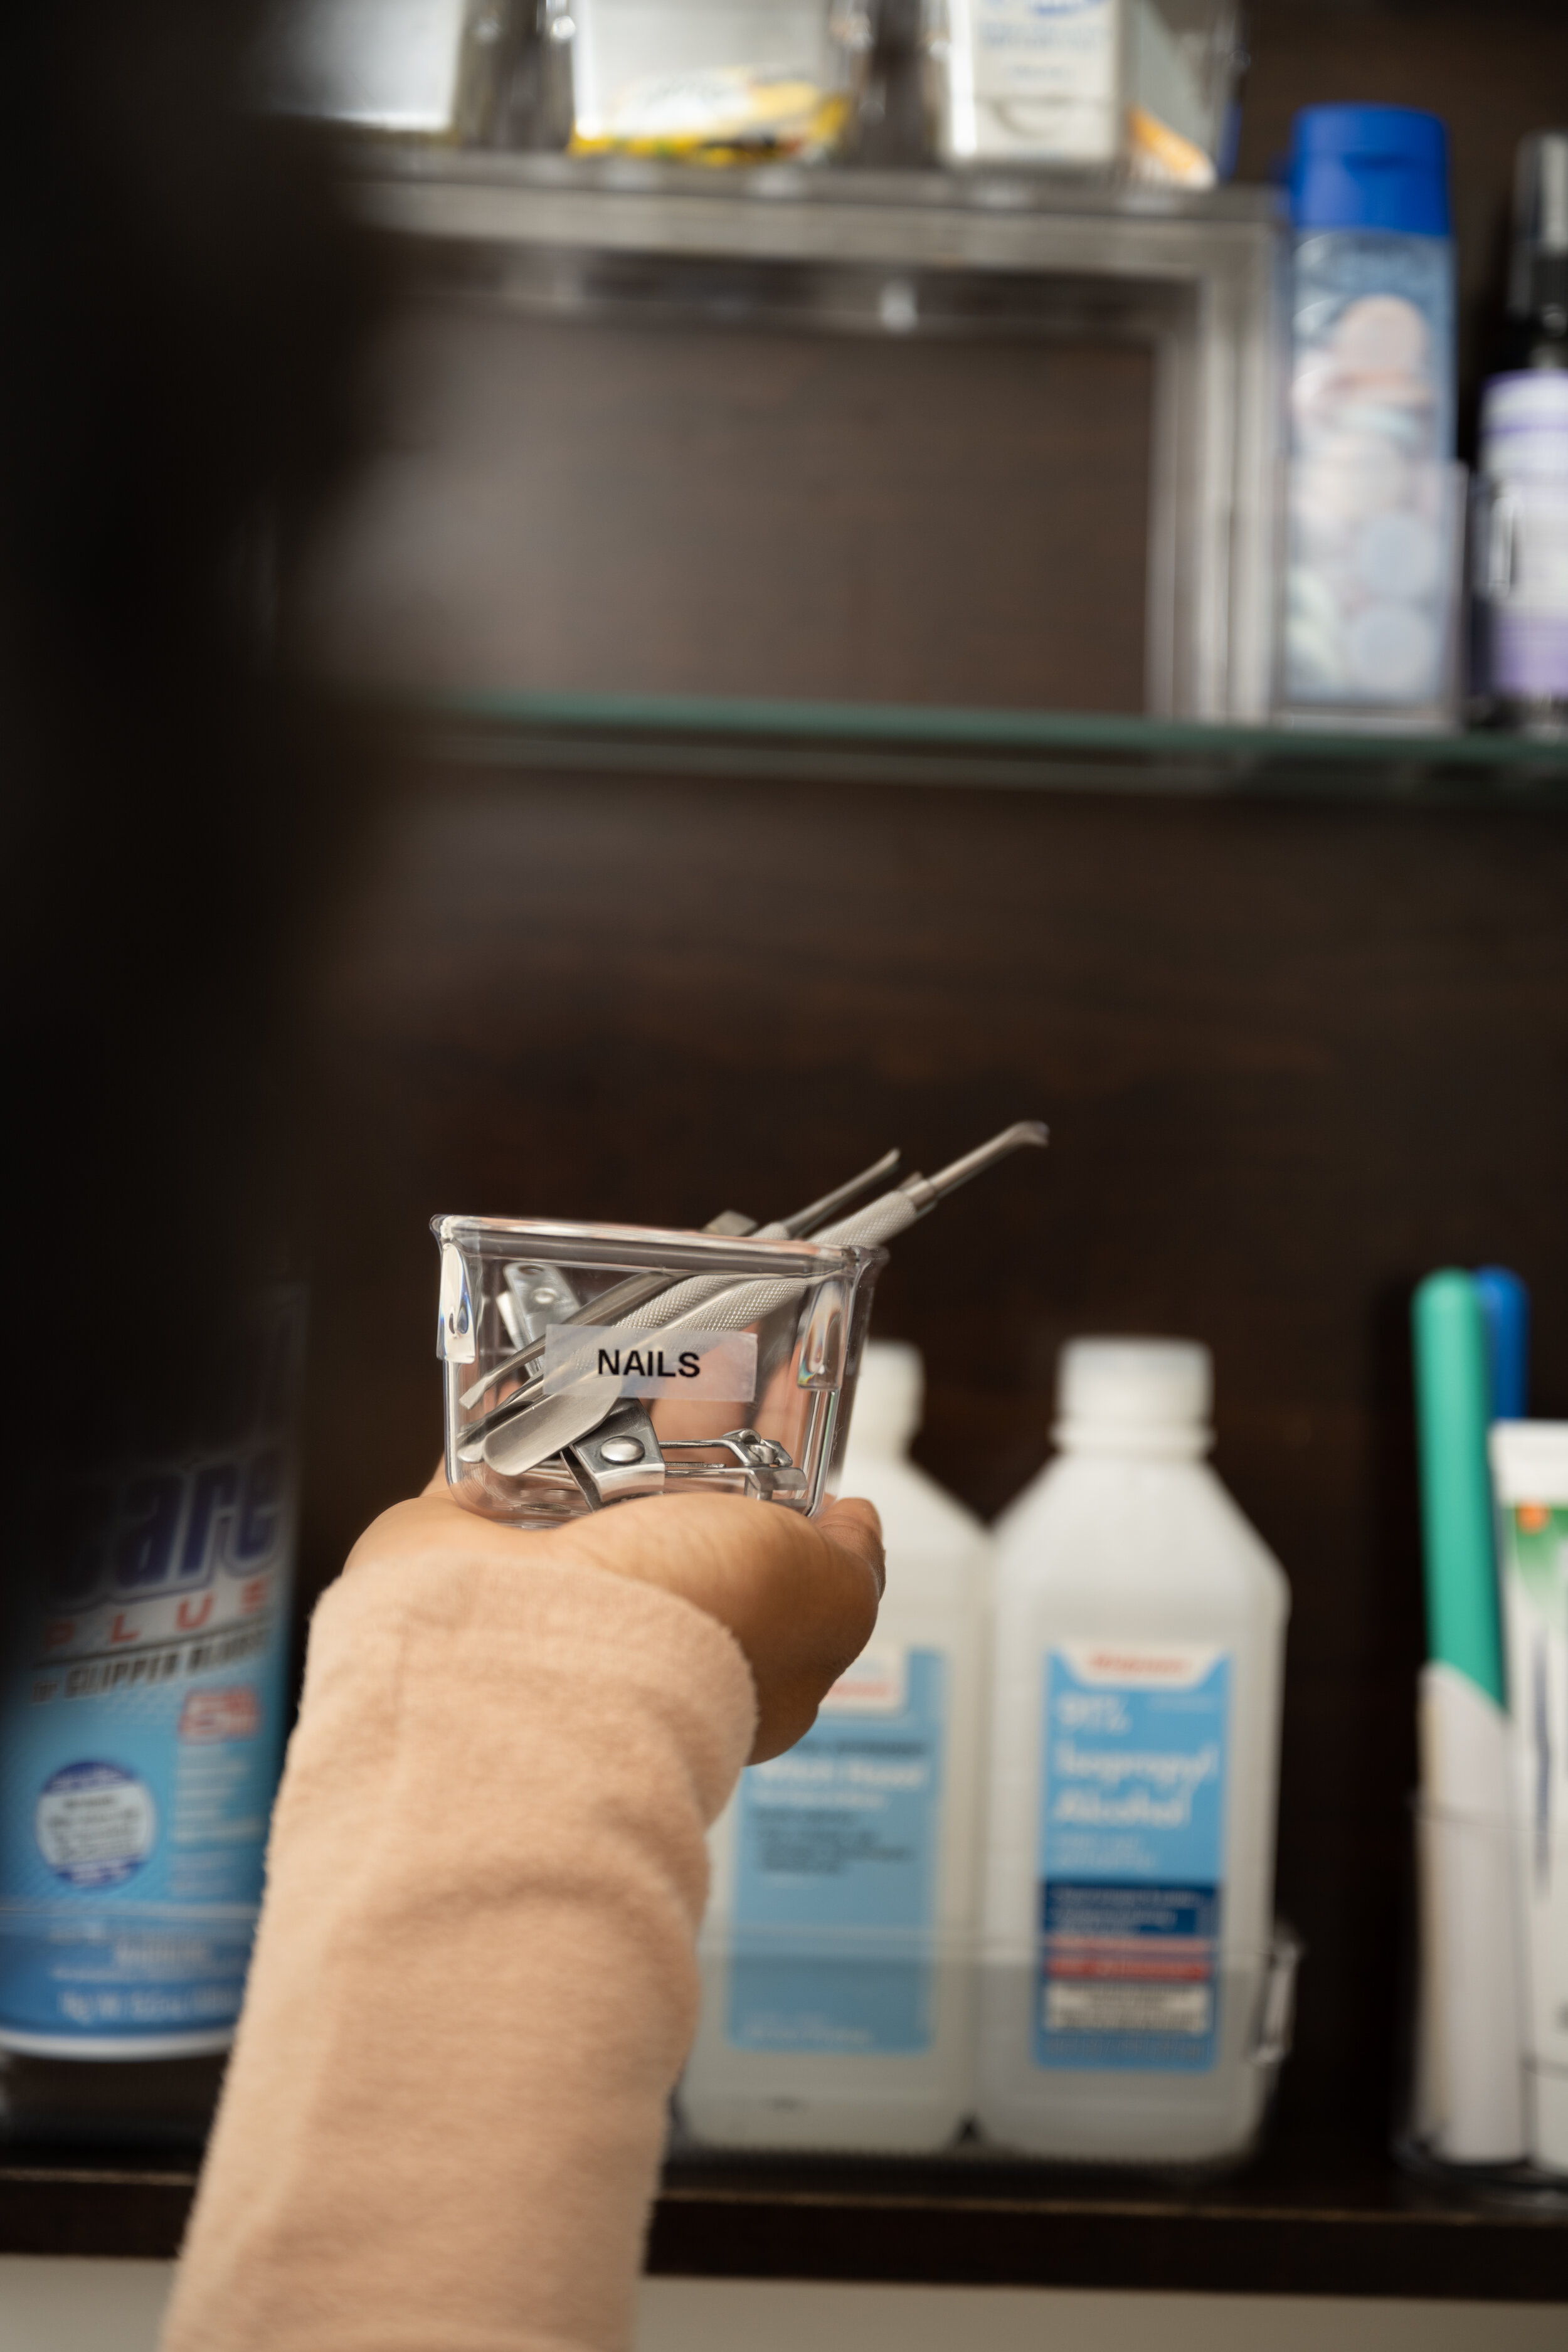
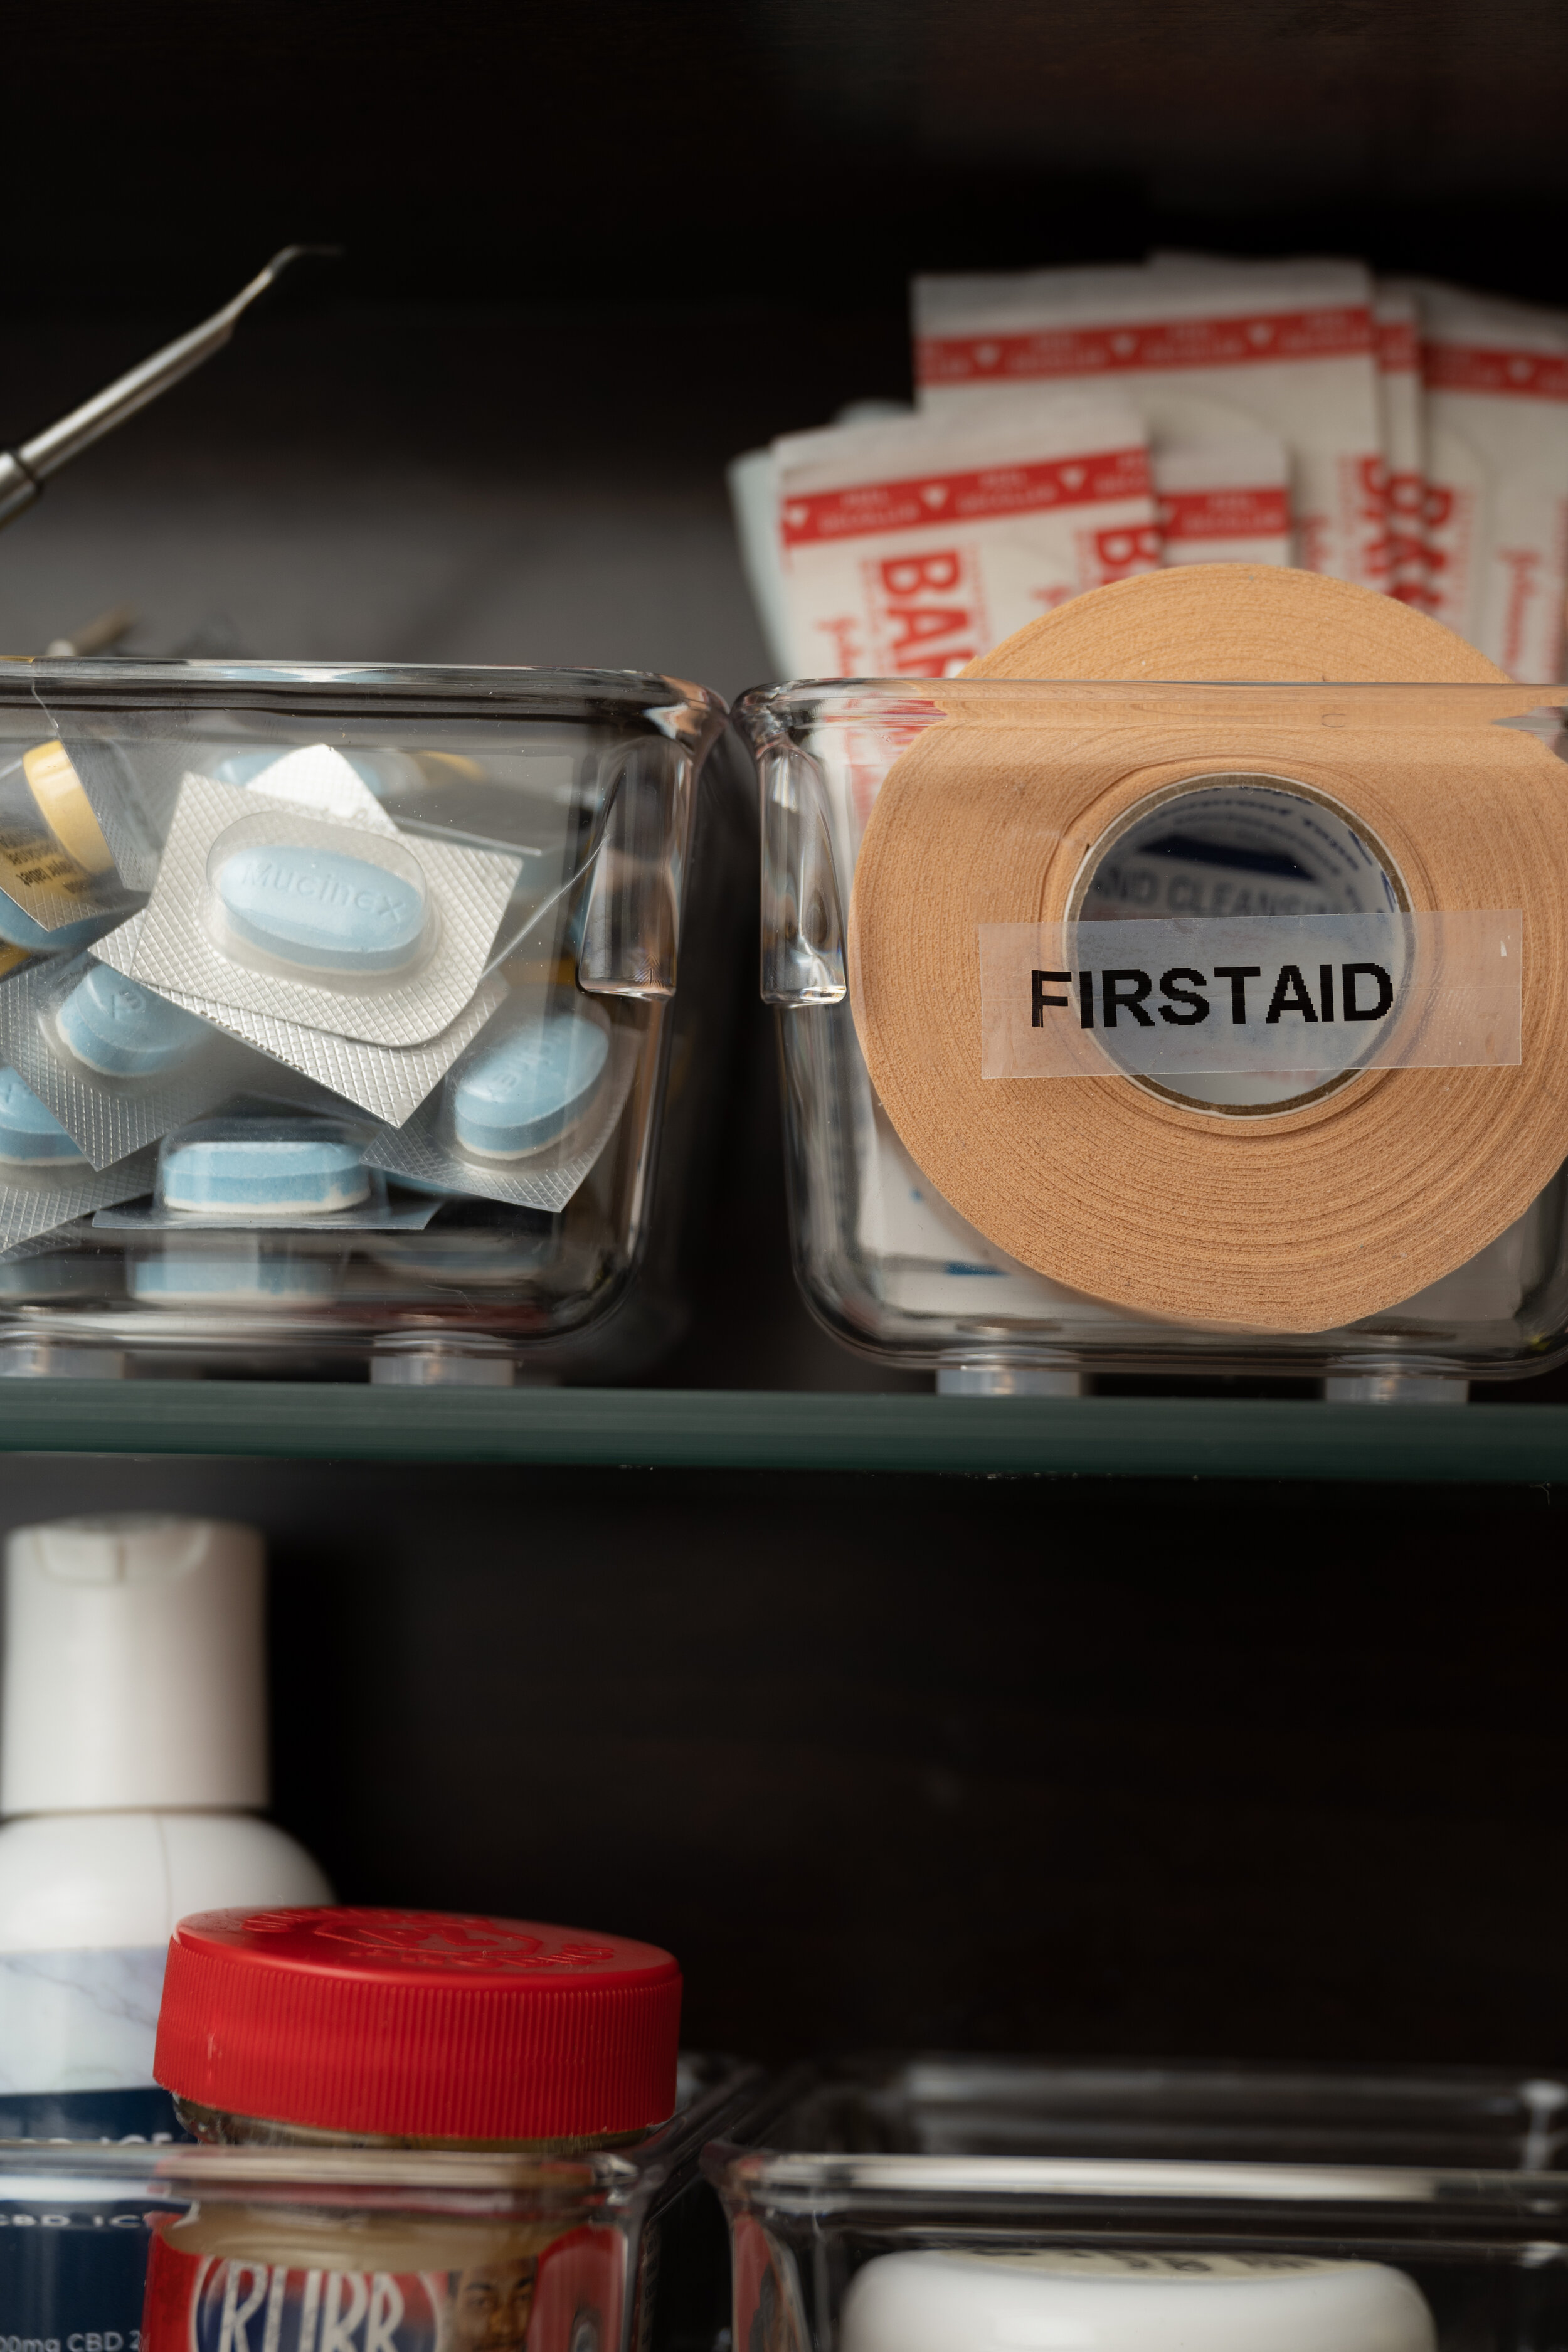
The final touches to any organization project is LABELS!
Photo by aQut Photography
Photo by aQut Photography
And finally, the after.
Photo by aQut Photography
I’ll be tackling more organization projects as a Brand Ambassador for The Container Store. Check out the products I used for this project. Check out the products I used below:


